
The riskiest automation purchase is the one judged by upfront cost alone. Flexible welding automation solutions are easier to assess when you match the cell to the jobs, consider how operators will teach and adjust weld paths, and calculate payback against your production needs. One robotic welding solution had an estimated return on investment of approximately 18 months, but that figure depends on the project.
It’s reasonable to want clear numbers before committing: a robot needs to suit your parts, workflow and team, not just look capable on paper. Collaborative robots and operator-led, no-code teaching can make welding automation more accessible, while a realistic cost assessment helps you judge what the investment needs to deliver.
This article explains how to assess task fit, operator setup, startup costs and estimated ROI for Australian manufacturing. It also covers the production factors that shape the business case, helping you weigh the opportunity against the practical demands of your workshop.
Key Takeaways
- Assess whether a collaborative welding robot can handle your part range, weld requirements and production flow before committing to a cell.
- Look at touchscreen teaching as a way for operators to set and refine weld paths without relying on traditional robotic programming.
- Build your startup-cost assessment around the equipment, integration and workflow changes needed for your jobs, rather than the robot alone.
- Use the approximately 18-month estimated ROI from one robotic welding solution as a case benchmark, then model payback against your own production needs.
Collaborative welding robots
Australian manufacturers can consider collaborative robot welding cells, with fixtures and workholding selected for their parts. For high-mix, low-volume production, the practical question is how readily the system can adapt between jobs without disrupting the wider workflow.
A flexible system can accommodate product variation when its workholding and weld instructions suit the different parts. A welding system designed for eight frame models illustrates how a cell can handle a defined product family. Before selecting a setup, group parts by material, joint type, weld position and geometry. Then identify which features remain consistent and which change between models. This helps establish whether one fixture can serve several jobs or whether changeovers need dedicated workholding.
Part size and mass also shape the cell design. In one example, frames measured 10’-12’ (3-3.6 m) long and weighed 3,500- 4,400 lbs (1,587-1,996 kg). Those figures illustrate why reach, positioning and load-bearing capacity matter alongside the robot itself. For Australian production, map the actual part envelope and handling sequence before deciding how a cell should be arranged.
Pipe welding is another application. The Spool Welding Robot can complete a full-penetration pipe weld from root to cap. This example shows how a robotic system can manage a defined weld sequence, while pipe geometry, joint preparation and the required weld procedure determine whether the approach suits a particular job.
Repeatability is one specification to consider, not a substitute for checking the whole process. An ABB robot in a robotic welding cell had track repeatability of 0.05 mm in precision mode. Compare relevant accuracy and reach specifications with the joint access and consistency your parts require. A collaborative setup still needs suitable workholding, a clear operator workflow and a task-specific assessment. Those details help distinguish a genuinely adaptable cell from equipment that only fits one production run.
Touchscreen setup without robotic programming
No-code teaching lets an operator set up a welding task without robot programming skills. A practical sequence is to select the job, teach the weld path, adjust parameters and test the result against the part and required weld quality.
How do robotic welding cells, cobots and automated welding systems compare? A cobot is a robot designed for collaborative work. A welding cell combines a robot with equipment, workholding and safety measures. An automated welding system describes the wider setup, which may include one or more robots and coordinated production equipment.
For robotic GMAW welding of heavy steel frames, the process settings and torch access must suit the material and joint. One system used 0.052" steel wire on mild steel 1/4"-1-1/2" (6.4-50.8 mm) thick. These specifications illustrate why operators need clear, repeatable ways to choose jobs and refine settings for each application.
A dual-robot cell can assign separate weld areas to two robots or coordinate their work on a large assembly. The layout must account for torch access, fixture position and possible interference between robot movements. Simulation can help plan movement before production, exposing reach or collision issues while the cell design can still be adjusted.
What Australian safety standards and regulations apply to robotic and automated welding? Assess each installation against applicable Australian workplace health and safety requirements and relevant standards. The risk assessment should cover robot movement, arc exposure, fumes, electrical hazards, workpiece handling, guarding and emergency stops. Safety depends on the specific application, tooling, process and site risk assessment.
What materials, joint types and welding processes can flexible systems handle? Robotic welding systems can perform MIG welding, including GMAW applications, while suitable materials and joints depend on the equipment, weld procedure and part geometry. Define those requirements before selecting the cell.
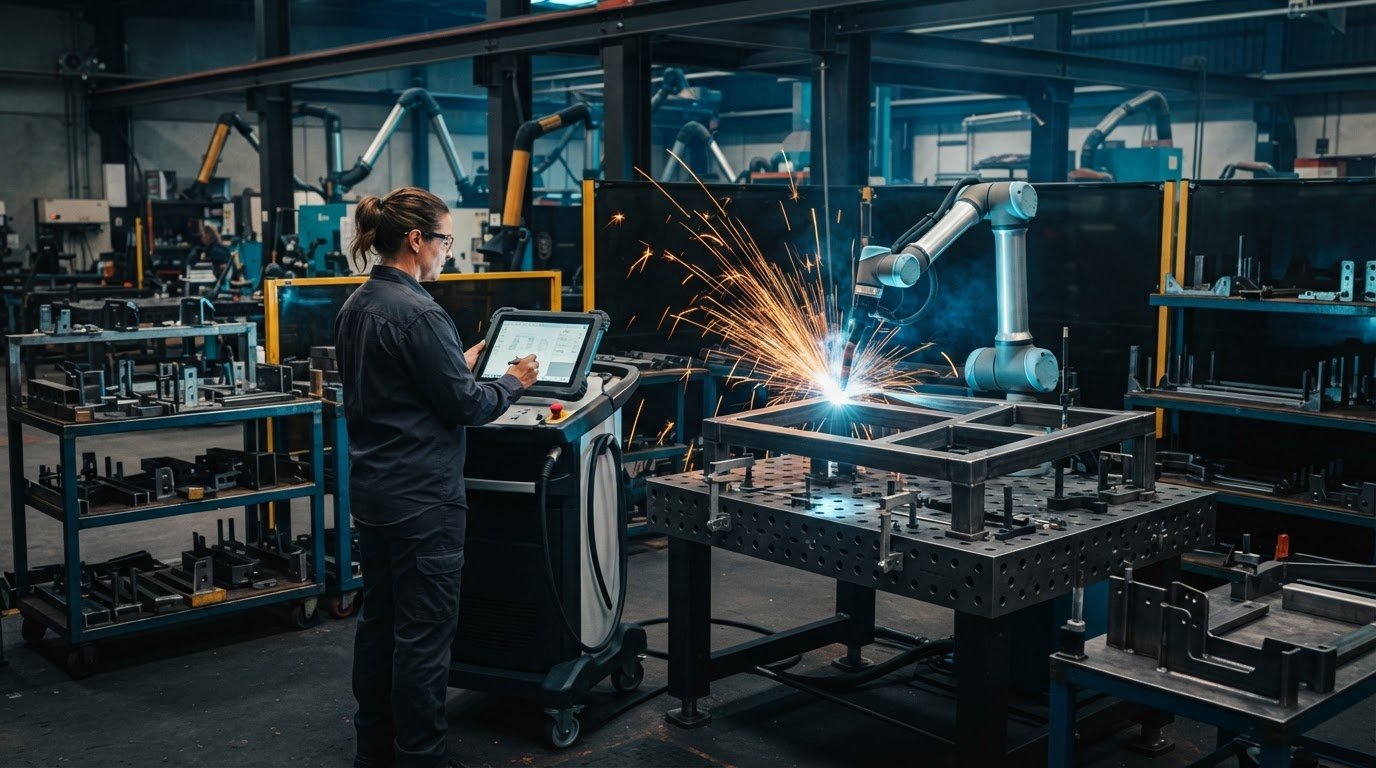
Standard robotic welding cells typically combine a robot, welding equipment, a fixture and protective measures. Simulation and operator trials help test the setup against real parts and working methods. For a practical view of collaborative robot welding cells, assess how the interface and cell layout fit your applications.
What’s the cost to get started with welding automation?
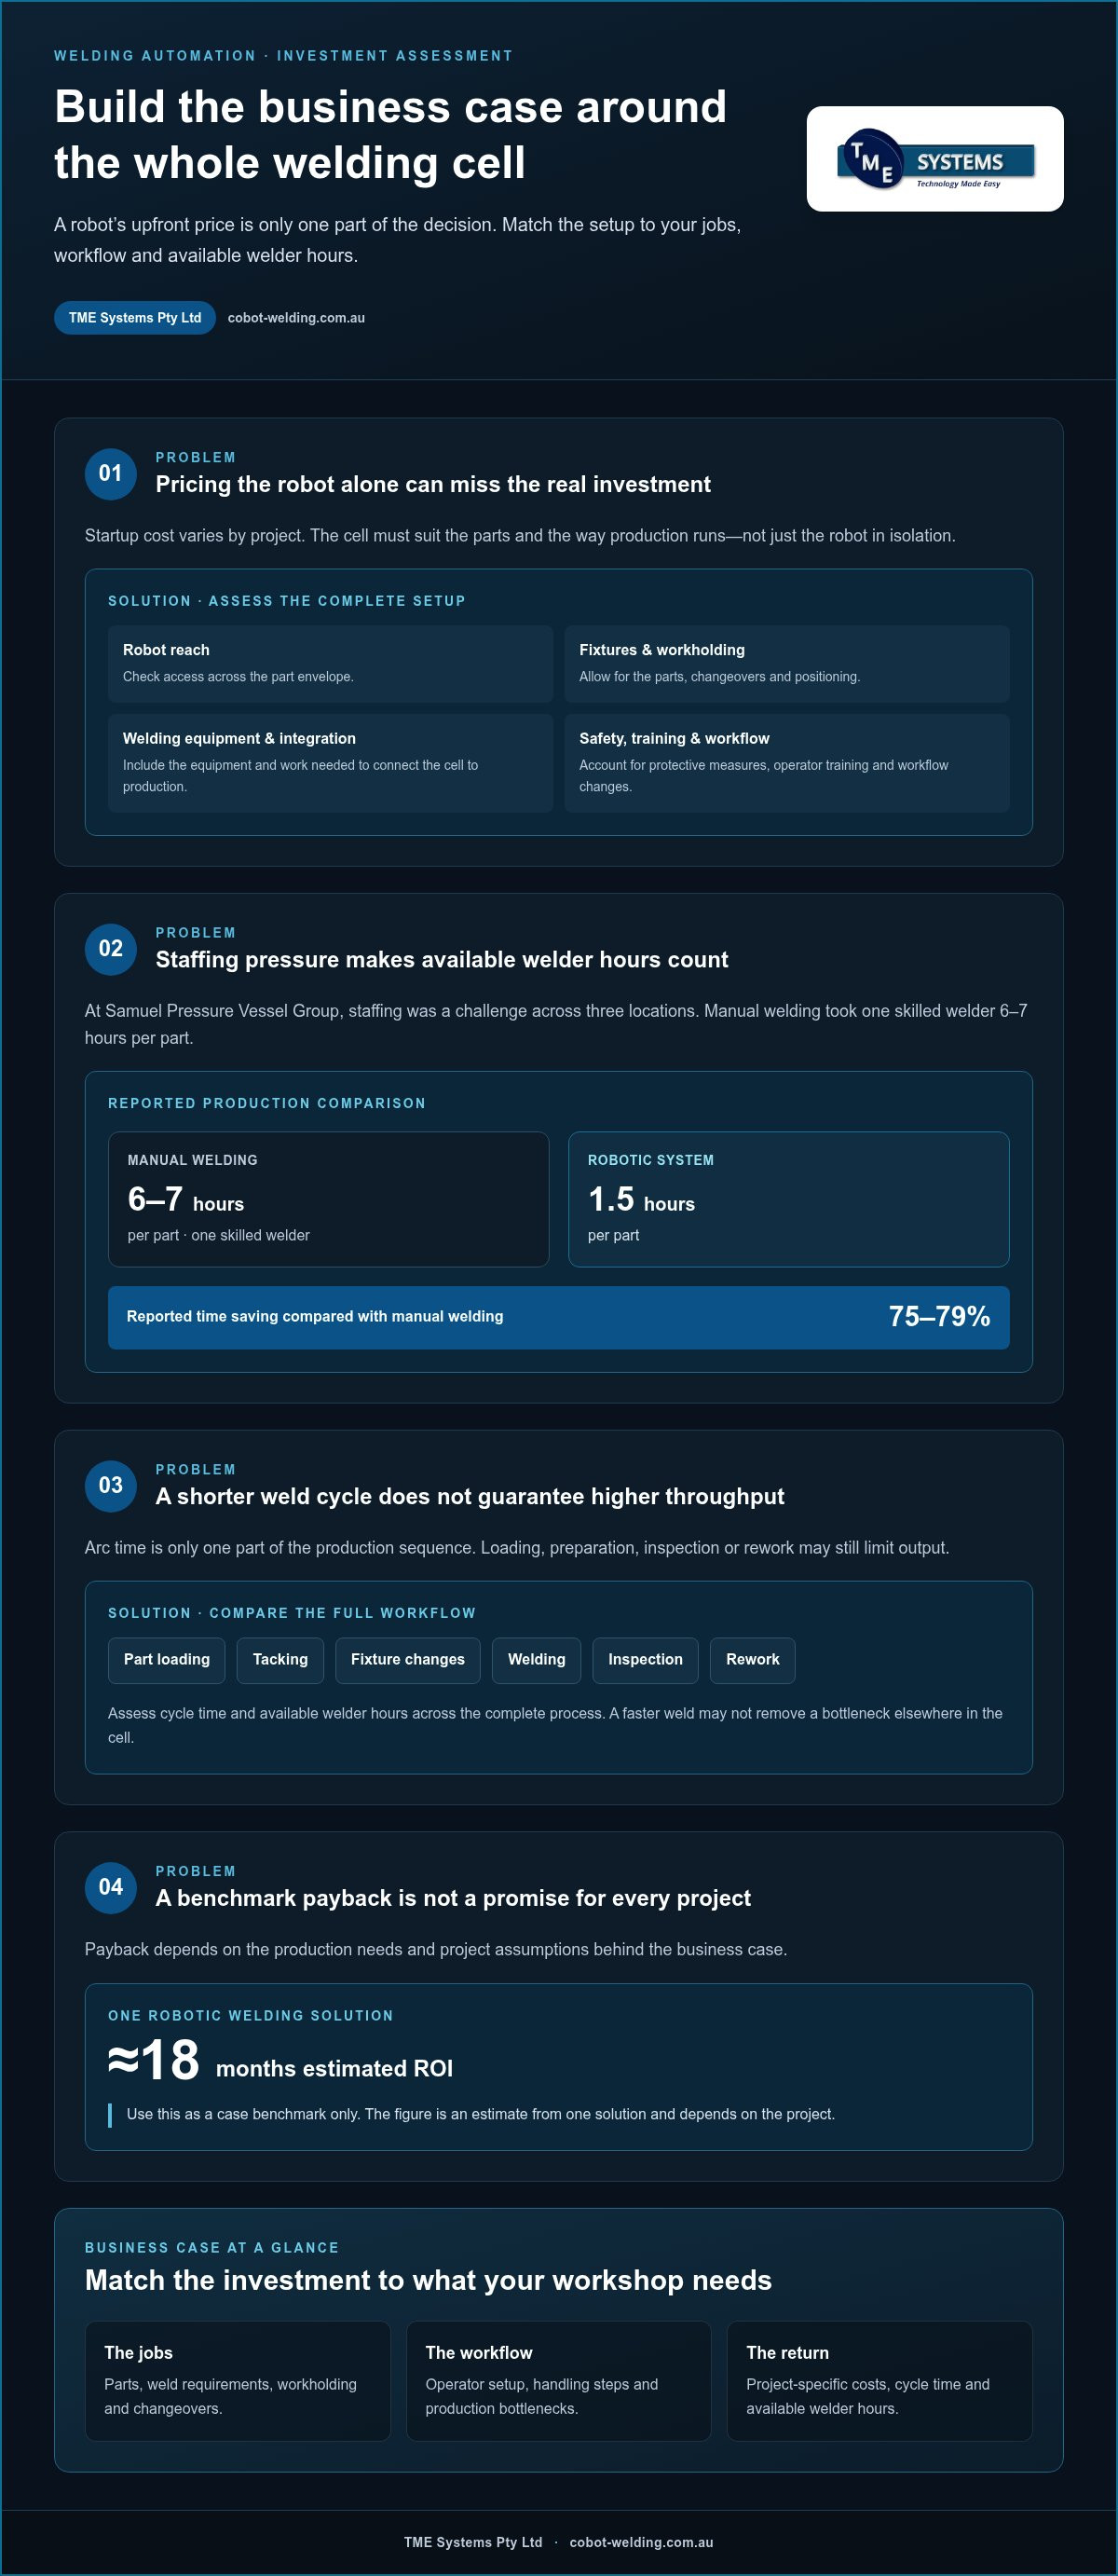
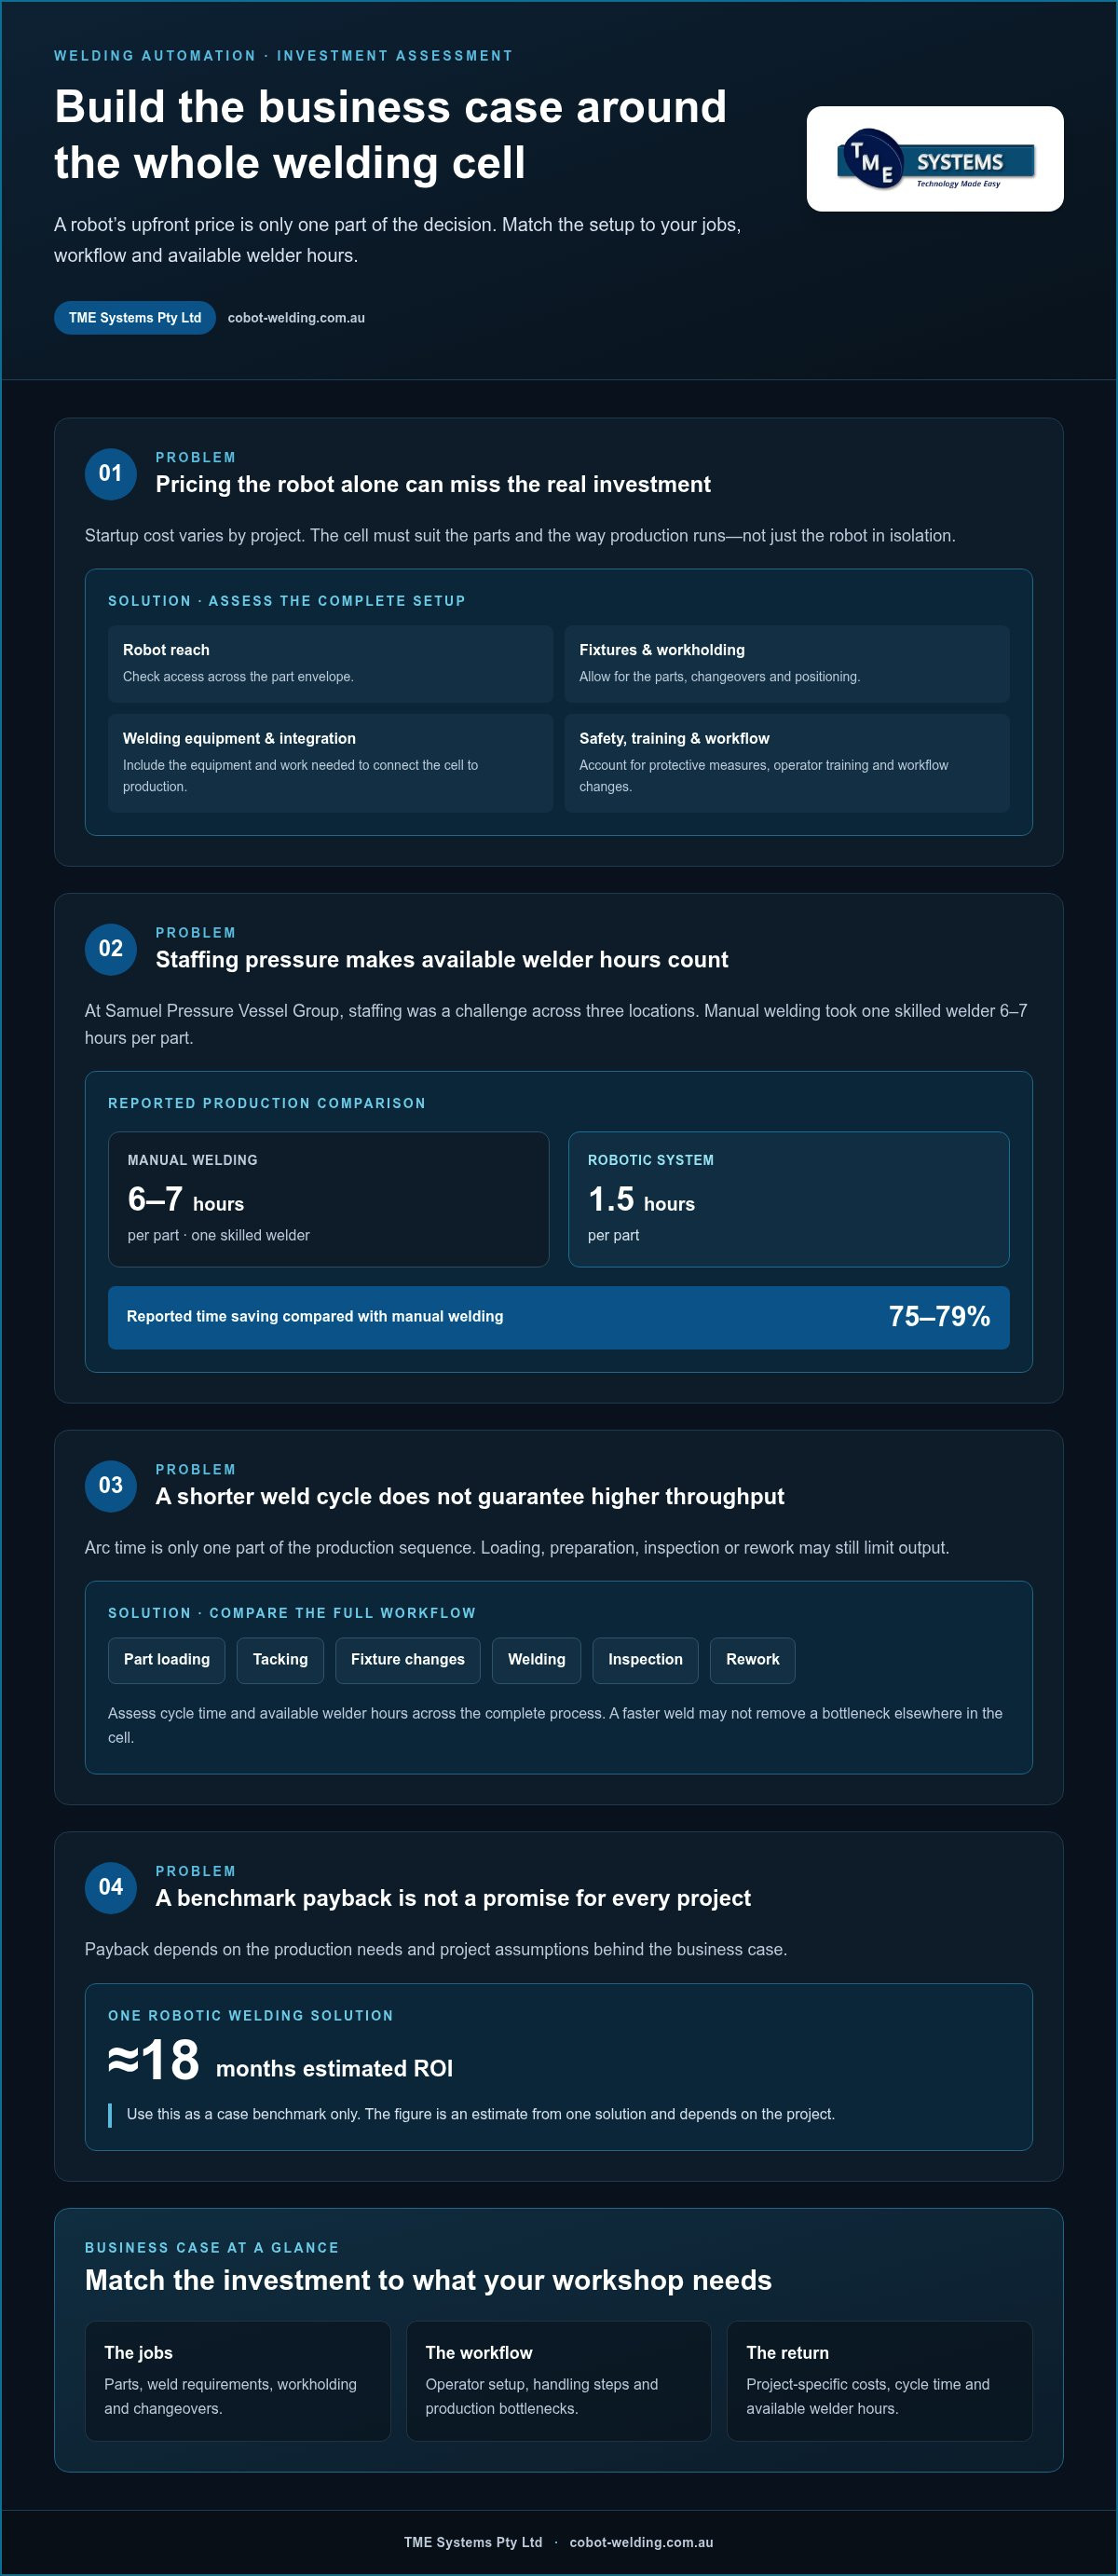
For Australian manufacturers, startup cost depends on the complete production setup, not just the robot. Cost varies by project. Key factors include robot reach, fixtures, welding equipment, integration, safety provisions, operator training and workflow changes.
Productivity pressure can make that investment worth assessing. At Samuel Pressure Vessel Group, staffing was a challenge across three locations. Manual welding took one skilled welder 6-7 hours per part, while a robotic system completed each part in 1.5 hours. The reported time saving was 75-79% compared with manual welding. These figures show why cycle time and available welder hours belong in the business case.
Automated MIG welding can make repeat production more consistent by following a taught path and set parameters. But throughput depends on more than arc time. Include part loading, tacking, fixture changes, inspection and rework when comparing manual and robotic production. A shorter weld cycle may not remove a bottleneck elsewhere in the cell.
AI and machine learning may support production flexibility by using process data to identify patterns or assist with adjustments. Their value depends on the available data and how well the tools suit the welding task. They do not replace decisions about material, joint preparation, weld quality or operator workflow.
What Australian grants, tax incentives or financing options support manufacturing automation? Support may come through eligible Australian government grants, tax incentives or commercial finance, with conditions depending on the program and business circumstances.
Which Australian suppliers and integrators provide flexible welding automation solutions, and where do they operate? Australian manufacturers can engage welding automation suppliers and system integrators to scope equipment, fixtures and production needs. An integrator’s work may include connecting the welding cell with the required production process.
To estimate payback, compare the full project cost with labour time released, extra saleable output and ongoing operating costs. Test the calculation against realistic production volumes and changeovers rather than assuming every shift runs at maximum capacity.
Estimated return on investment
One robotic welding solution had an estimated return on investment of approximately 18 months. Treat that as a case example, not a standard payback period. Your result depends on how much useful production the cell delivers and how its costs compare with measurable gains.
Start with a baseline for the manual process. Record labour time per part, completed parts, rework, consumables and production interruptions. Then compare those measures for the same jobs after automation. Keep the part mix and production period consistent so the comparison reflects the process change, not a busier schedule or easier work.
Build the estimate in clear steps:
- Define the full investment and recurring operating costs for the proposed setup.
- Estimate productive hours released, using actual planned production rather than theoretical robot running time.
- Value capacity gains only where the workshop can use them for saleable output or another defined production need.
- Account for changeovers, loading, inspection, maintenance and any remaining manual tasks.
Released labour time does not automatically become a cash saving. It may let experienced welders focus on work that still needs their judgement or help the business complete more orders. Show these outcomes separately in the model to distinguish reduced labour expense from additional production capacity.
Run the calculation across the jobs intended for automation, not just the easiest part. For example, compare a repeatable frame run with a varied batch that needs frequent fixture changes. The difference can reveal whether the expected return depends on steady volume or remains credible across normal changeovers.
Finally, test the model against a slower production period and a realistic operating schedule. Track the same measures after installation, then compare actual performance with the estimate. A documented baseline, clear assumptions and regular review make an ROI assessment more useful for investment decisions.
To build a project-specific business case, discuss your welding automation ROI alongside the jobs and production targets you need to assess.
TME Systems: No-Code Teaching Software
TME Systems Pty Ltd offers No-Code Teaching Software that lets operators teach weld paths and adjust parameters without traditional robot programming. It can help your team assess how operators would set up and refine welding tasks in production.
For a broader project, TME Systems Pty Ltd also offers Collaborative Robot Welding Cells and Welding System Integration. The Mobile Demo System brings a welding cell to your site for evaluation, helping you explore the technology in your production setting. The right next step depends on your parts, weld requirements, production mix and operator experience.
If you're weighing up a welding automation project, contact TME Systems Pty Ltd to discuss your production needs.
Make your next automation decision practical
Before moving from interest to implementation, choose a representative job and map its route through your workshop. Consider how parts are presented, where operators spend time and which production changes could affect the cell’s use. This gives your automation discussion a practical starting point grounded in the work your team needs to complete.
Flexible welding automation solutions should fit the people and processes around the weld, not just the specification sheet. TME Systems offers No-Code Teaching Software, Collaborative Robot Welding Cells and a Mobile Demo System to help manufacturers explore operator-led setup and collaborative welding in context.
Your own production mix and operating assumptions shape the business case, so use them to frame the next conversation. Contact TME Systems to discuss the welding tasks and workflow you’re considering. A measured next step can help your team move forward with a clearer view of what automation needs to do.
Frequently Asked Questions
How can I mitigate risk when buying automation solutions?
Reduce risk by testing the proposed workflow with a representative part before committing to a full production change. Define an acceptable weld, how operators will load and teach the job, and what happens when a part or fixture changes. Include integration with the welding power source and fixtures in the assessment. For flexible welding automation solutions, a practical trial can reveal process or handling issues early.
Is welding automation difficult to learn?
No coding experience is needed to use TME Systems’ No-Code Teaching Software. Operators can teach weld paths and adjust parameters through an operator-focused interface, rather than writing robot code. They still need to understand the cell’s workflow, part setup and welding task. Operator onboarding and training help the team practise these steps and build confidence using the equipment in its production context.
How much do flexible welding automation systems cost in Australia, including installation and integration?
Project cost varies by case. Factors include the robot and welding equipment, cell layout, fixtures, integration with existing equipment, and the scope of setup and training. Installation and integration needs depend on the workshop’s equipment and workflow. Assessing these elements together gives a more useful project estimate than considering the robot alone.
What production volumes and part-mix changes make flexible welding automation cost-effective?
Automation is more suitable when parts offer enough repeat work to justify teaching and proving a weld path. A family of similar components can support changeovers when operators can reuse fixtures, process knowledge and weld strategies. Frequent runs of unrelated, one-off parts may offer fewer opportunities to reuse that setup. Compare the planned job mix and changeover effort, not volume alone.
How can a flexible welding automation system be integrated with existing equipment and production software?
Start by mapping the equipment and information the cell must work with. Review the welding power source, wire feed, torch, fixtures and production workflow, then define how job instructions and relevant production data will be exchanged. Integration with production software depends on its interfaces and the information required. Test the agreed connections during commissioning, including how operators select and run jobs.
What steps are involved in selecting, installing and commissioning a flexible welding system?
Begin by choosing representative parts and documenting their weld requirements, fit-up and handling needs. Next, assess the cell layout, fixtures, welding equipment and required integration. During installation, connect and configure the agreed components. Commissioning tests the process on actual parts, checks weld results against agreed acceptance criteria and confirms the operator workflow. Finish with onboarding so the team can run the cell.