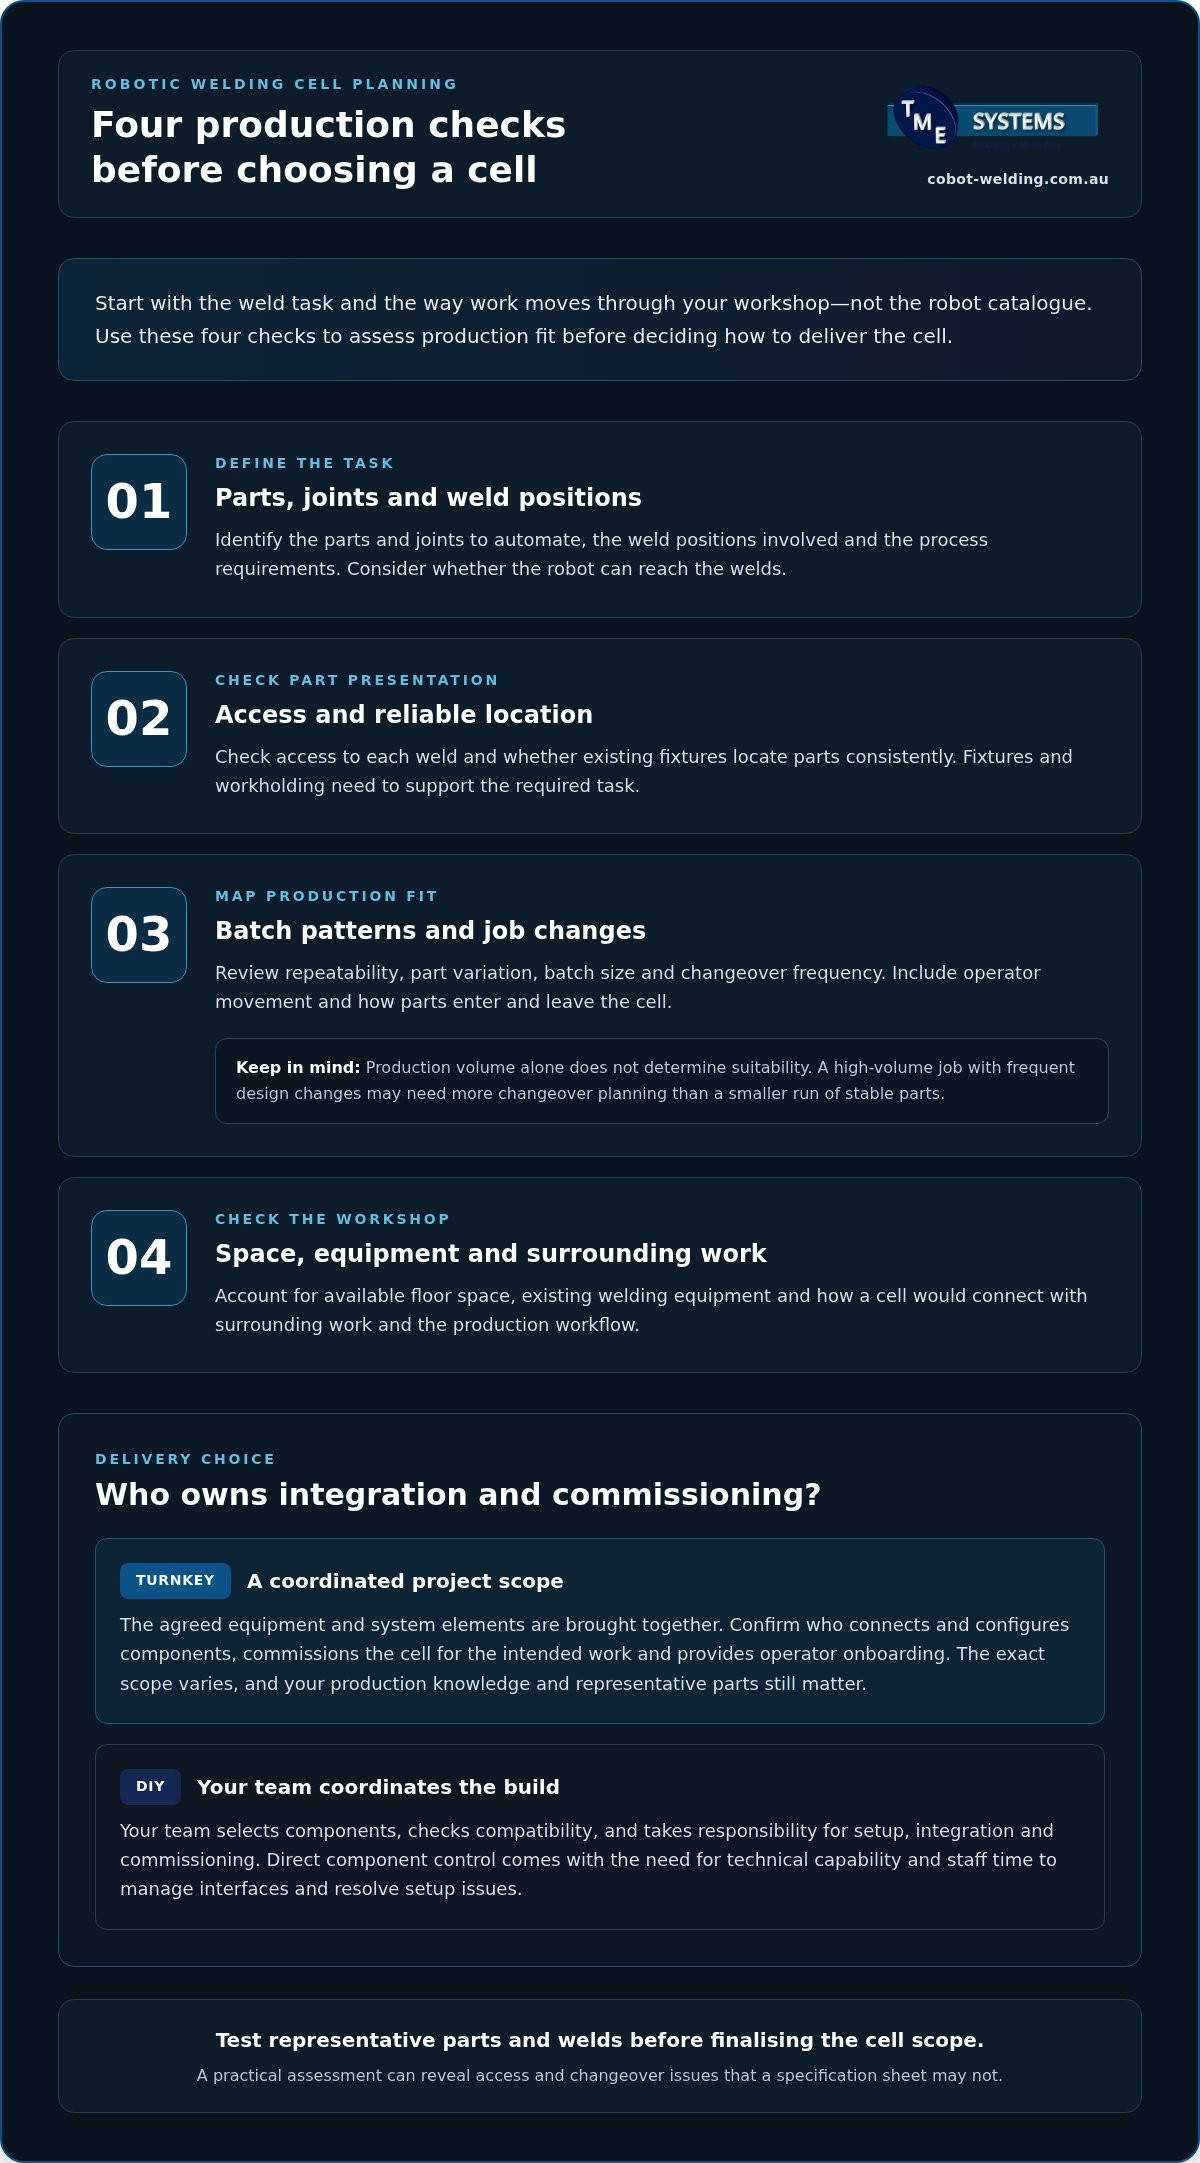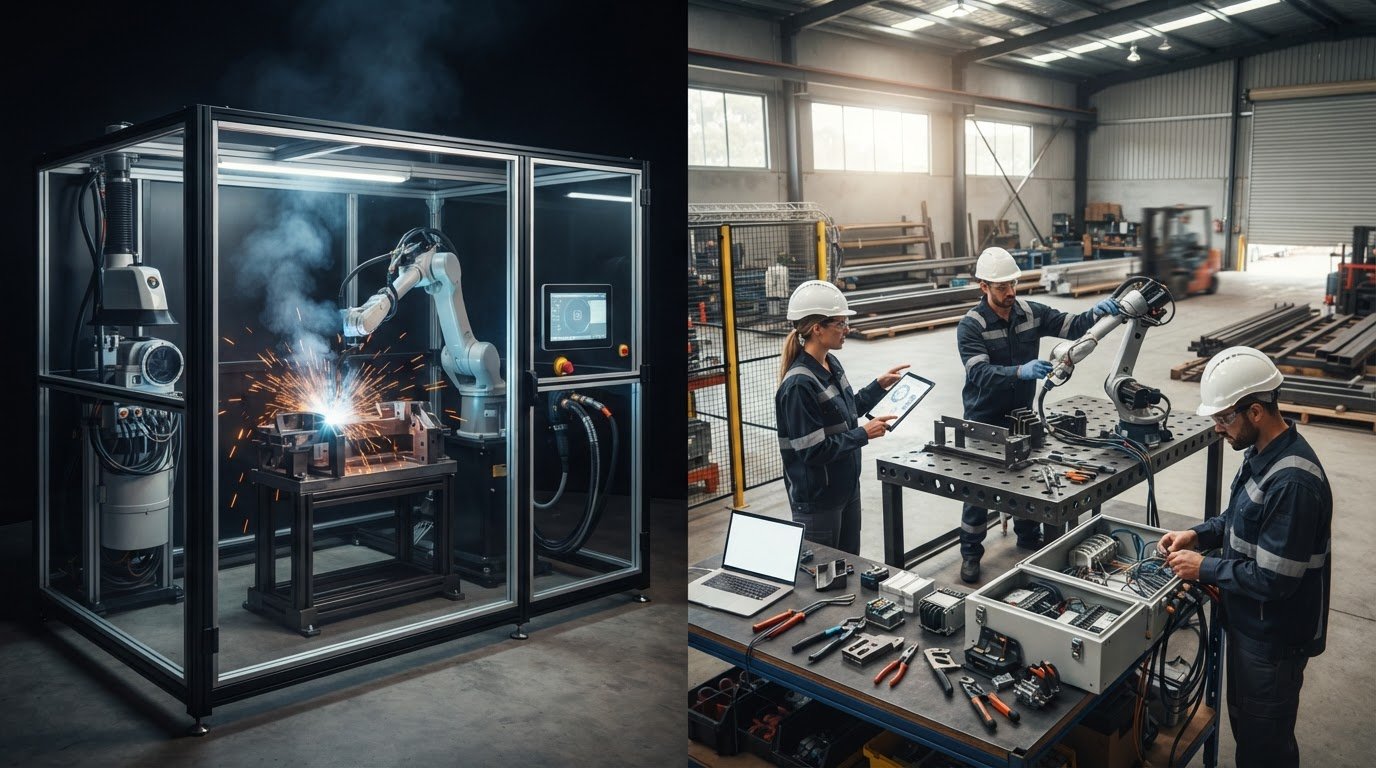
A turnkey robotic welding cell isn’t automatically the easier choice, and a DIY build isn’t automatically the more flexible one. The practical difference often comes down to who connects the robot, welding equipment and production workflow, then commissions the cell and prepares operators to use it. That’s the key question behind the turnkey vs DIY robotic welding cell decision.
It’s understandable to compare component prices and specifications first. But buying parts separately can leave substantial integration work inside your workshop, while a more complete cell may involve trade-offs in how you adapt it to changing jobs. The right option depends on your production needs and the engineering time and expertise you can commit.
This article compares the responsibilities, benefits and limitations of each approach, including integration, commissioning, training and future adjustments. You’ll also see how operator-led path teaching with no-code software can support job changes, and how a mobile demonstration can help you assess robotic welding in practice. The aim is to help you choose a sensible next step based on the whole workflow, not just the headline specifications.
Key Takeaways
- Turnkey usually brings components and integration into a coordinated project scope, while DIY puts component selection, integration and commissioning on your team.
- Assess repeatability, part variation, batch sizes and changeovers to see how robotic welding fits your actual production work.
- Compare the turnkey vs DIY robotic welding cell options by who owns integration, operator onboarding and future adjustments, not by headline specifications alone.
- Turnkey can reduce the coordination workload, but your team still needs to contribute production knowledge and decisions.
- Build a practical next step around a representative weld task, your in-house capability and the integration support operators will need.
Turnkey vs DIY robotic welding cell: what does each approach include?
A turnkey robotic welding cell is delivered as an integrated project, with the agreed equipment and system elements brought together. With a DIY cell, your team selects the components and takes responsibility for integration and commissioning. The exact turnkey scope varies, so the label alone doesn’t tell you which tasks are included. The robot arm is only one part of the picture. A working cell also depends on the welding process equipment, software, fixtures and how the system fits the production workflow. For a wider overview of the technology and its applications, see robotic welding.
What should a turnkey robotic welding cell bring together?
A turnkey scope should explain how the robot, welding equipment, teaching software and workholding fit together to perform the required weld task. Fixtures help locate parts consistently, while the workflow determines how operators load, position and manage jobs around the cell. These elements need to work as a system, not just sit together on the workshop floor.
Equipment supply is not the same as integration. The project scope should make clear who connects and configures the components, commissions the cell for the intended work and provides operator onboarding. A coordinated scope gives your team a clearer view of responsibility at each stage. It doesn’t remove the need for your input: production knowledge and representative parts help shape a cell around real workshop conditions.
What does building a DIY welding cell involve?
With a DIY approach, your team selects the robot and welding equipment, checks that the components are compatible, and coordinates setup, integration and commissioning. You can source equipment from different suppliers, but bringing those parts together remains your responsibility. A robot that suits the task on paper may still need careful integration with the welding process, fixtures and operator workflow.
This approach gives your team direct control over component choices and system changes. That control comes with a workload. Someone needs the technical capability and time to manage interfaces, resolve setup issues and confirm the cell is ready for its intended jobs. If those tasks compete with production or engineering priorities, the integration effort can be easy to underestimate.
For the turnkey vs DIY robotic welding cell decision, focus on ownership as much as equipment. A DIY build may use components from different suppliers, but your team still owns the overall integration. An integrated project can bring together hardware, software, workflow integration and operator onboarding, while leaving specific tasks outside the agreed scope. Define those boundaries early so you can compare the approaches based on the work your team will actually need to manage.
Assess your production needs before choosing a robotic welding cell
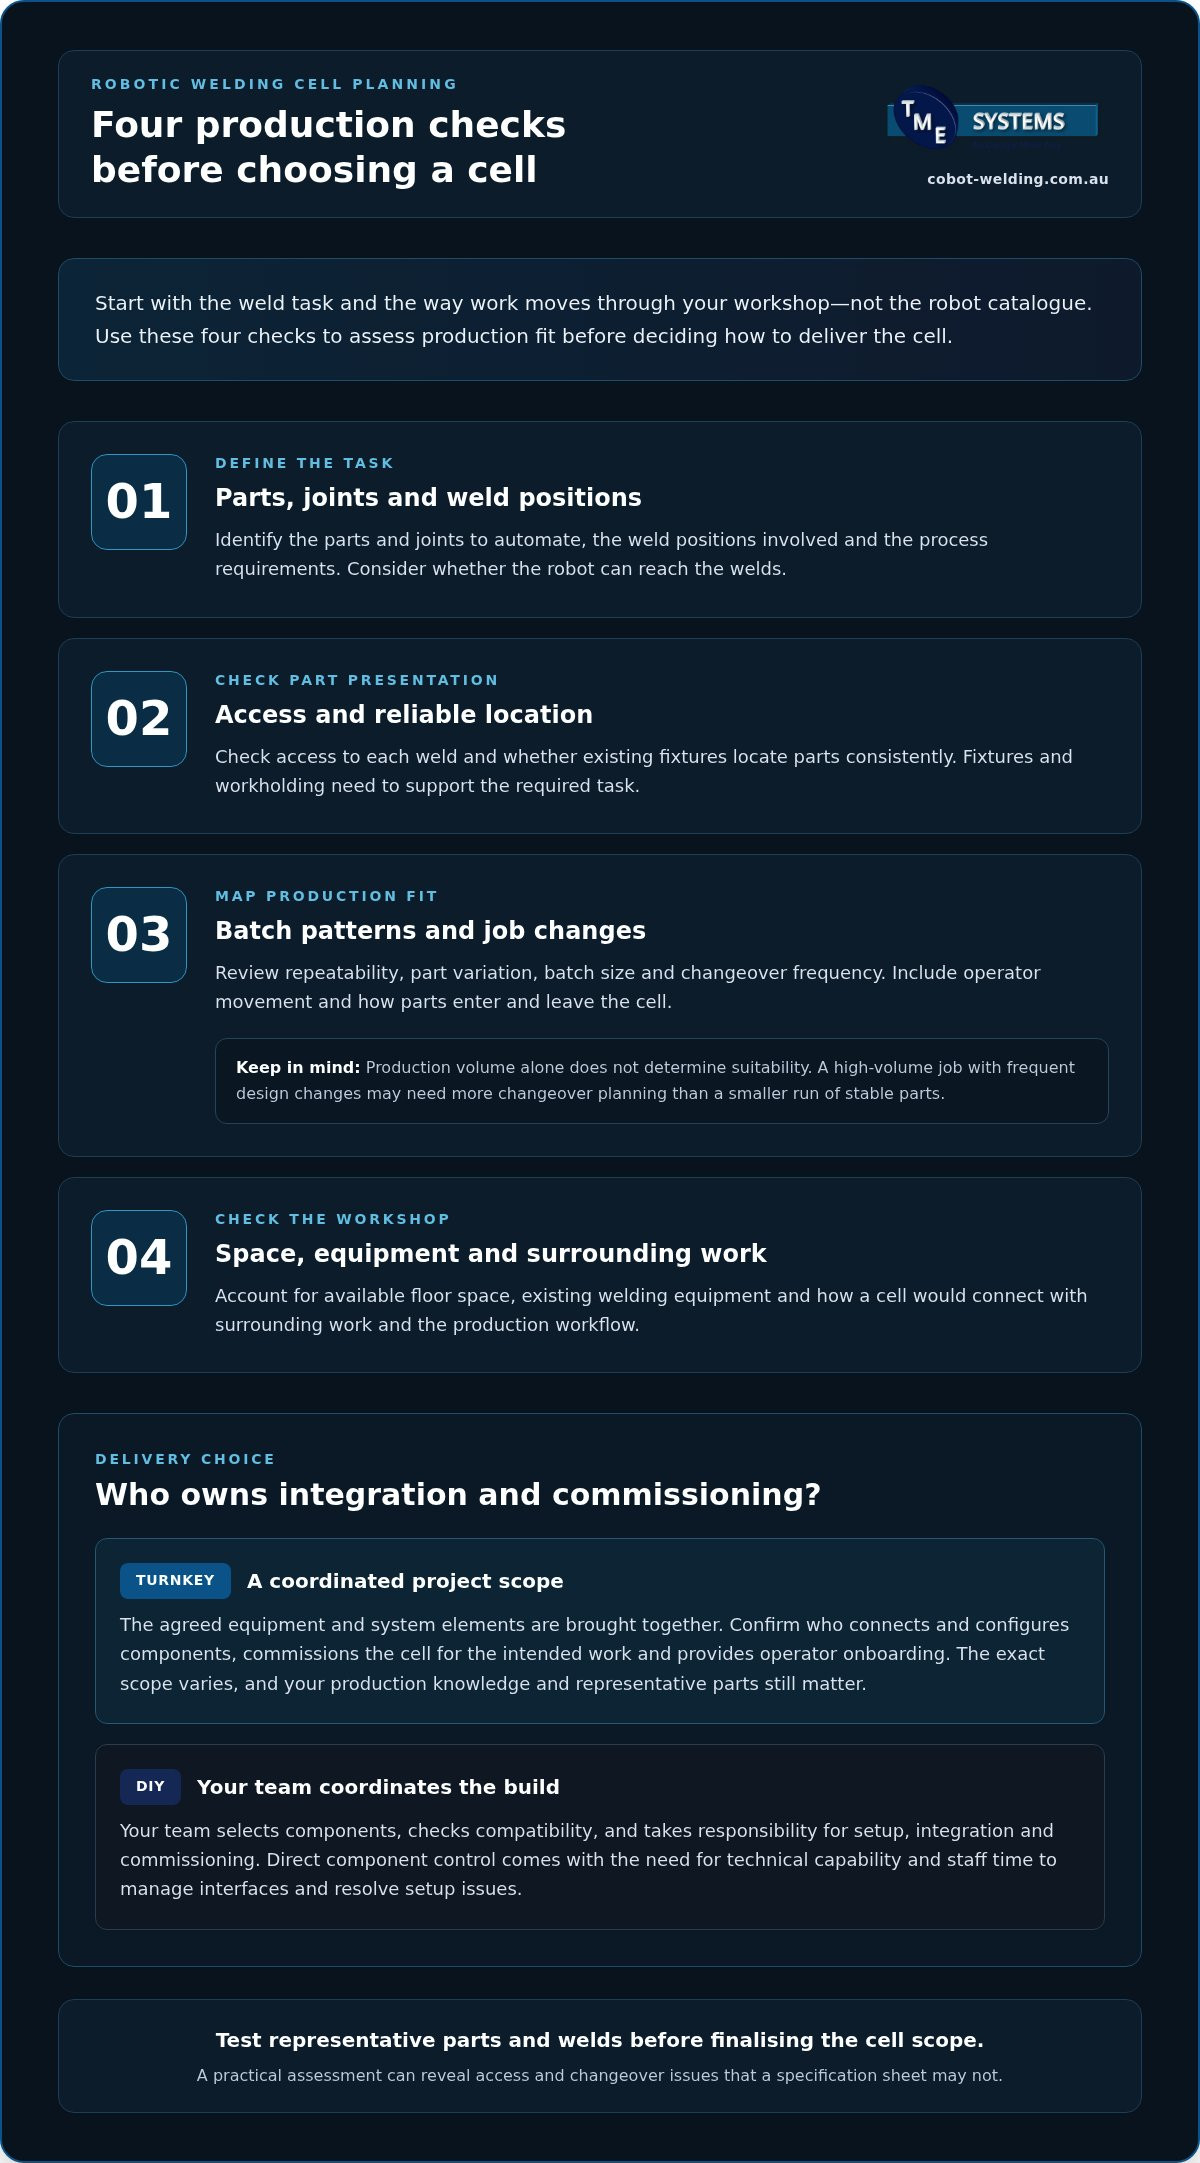
Start with the weld task, not the robot catalogue. Identify the parts, joints and weld positions you want to automate, then consider how consistently parts can be presented and whether the robot can reach the welds. This gives you a practical basis for judging production fit before deciding how to deliver the cell.
Which welding jobs are suitable for automation?
Repeatable welds and consistent part location can make a job easier to assess for automation, but production volume alone doesn’t determine suitability. A high-volume job with frequent design changes may need more changeover planning than a smaller run of stable parts. Look at your actual mix of repeatability, part variation, batch size and changeover frequency.
Work through a short assessment:
- Define the task: Note the joint types, weld positions and process requirements.
- Check part presentation: Consider access to each weld and whether existing fixtures locate parts reliably.
- Map production fit: Review batch patterns, job changes, operator movement and how parts enter and leave the cell.
- Check the workshop: Account for available floor space, existing welding equipment and how a cell would connect with surrounding work.
Then test representative parts and welds before finalising the cell scope. A demonstration using typical work can reveal access or changeover issues that a specification sheet won’t. Treat throughput or quality estimates as matters to validate against your parts, weld requirements and production workflow. For wider industry context on welding processes and automation, explore the American Welding Society’s Welding Journal.
Can your team support a DIY integration?
Look at capability as well as equipment. Who can set up the robot, advise on the welding process, check component compatibility and integrate the system with fixtures and workflow? Then allow for the staff time to work through commissioning and production issues. Existing engineering expertise helps, but availability matters too: a capable person who is already stretched may not have time to own the project.
Bring operators into the assessment early. Their experience can highlight practical details, such as how parts are loaded, where access is awkward and which adjustments are likely during a job change. Their input also helps ensure teaching and operation suit the people who’ll use the cell.
The turnkey vs DIY robotic welding cell choice becomes clearer once you’ve matched the weld task to production conditions and mapped the people and time available to deliver it. A mobile demonstration system can help your team assess representative work in practice before setting the project scope.
Turnkey vs DIY robotic welding cell: compare control, workload and support
The practical difference is who coordinates the cell and who carries the work after equipment is selected. A turnkey scope can bring integration and operator onboarding together, while a DIY build gives your team more direct control over components and more responsibility for making them work as a system. The details depend on the agreed project scope.
| Decision area | Turnkey approach | DIY approach |
|---|---|---|
| Integration ownership | Integration is coordinated within the agreed project scope. | Your team owns component compatibility, integration and commissioning, even if equipment comes from several suppliers. |
| Flexibility | The cell is shaped around agreed production needs; future changes depend on its design and scope. | You choose components and changes directly, with your team responsible for coordinating their effects. |
| Workload | Can reduce the coordination burden, but your production knowledge and decisions are still needed. | Requires internal time to manage setup, interfaces and issues that emerge during commissioning and use. |
| Onboarding | Operator training can be included in the project scope, helping connect cell operation with the workshop’s work. | Your team arranges and delivers onboarding, or incorporates it into a separate scope. |
| Ongoing changes | Responsibility for job adjustments and support depends on the agreed arrangement. | Your team typically manages adjustments, troubleshooting and workflow refinements. |
Where does a turnkey cell reduce project friction?
Coordinating hardware, software, fixtures and workflow through an integrated scope can reduce the hand-offs your team needs to manage between separate components. Including operator onboarding also makes training part of implementation, rather than a task left until the cell is ready to run. That doesn’t make the project hands-off: production requirements, part knowledge and operator feedback still shape how well the cell fits. The Fabricator discusses considerations behind turnkey robotic welding solutions, including how scope and features affect the decision.
Where can a DIY cell offer more control?
DIY can suit a team that wants to select components and own how the system evolves. That control is an opportunity, not a guarantee of lower costs or a better result. Different components may require extra compatibility checks and coordination. Your team also needs a plan for future job adjustments and troubleshooting. No-code teaching software can help operators teach weld paths and adjust parameters, but it doesn’t remove responsibility for the wider integration.
Compare the turnkey vs DIY robotic welding cell options by assigning an owner to each stage, from integration and onboarding to later workflow refinements. Neither approach guarantees faster output or better weld quality; those outcomes depend on the application, implementation and production conditions.
Use this decision framework to choose your welding cell approach
Choose the approach that matches your production needs and your team’s capacity to own the work. Consider three things together: how much your jobs vary, how much integration capability and project time you have in-house, and what support operators will need as the cell becomes part of daily production.
- Production variation: Consider how often parts, weld paths or job settings change. Frequent changes call for a clear plan for teaching and adjustment.
- Internal capacity: Identify who can coordinate equipment, integration and commissioning, and whether they have time to do it alongside other responsibilities.
- Operator support: Decide how operators will learn to use the cell and contribute their welding experience to setup and job changes.
For broader cell-selection context, see this collaborative robot welding cell guide. It can help you consider the project approach alongside the cell itself.
When does a turnkey robotic welding cell make sense?
Turnkey may suit a manufacturer that wants equipment, integration and operator onboarding coordinated as a defined project scope. It can be a practical fit when internal engineering time is limited or when the team values a structured path from assessing the application to preparing operators for the cell. A mobile demonstration can help the team see how robotic welding handles representative work before making adoption decisions.
Coordinated delivery still needs active input from your side. Your team must explain production requirements, test representative parts and involve operators in shaping how the cell fits the workflow. Turnkey can organise project responsibilities, but it doesn’t replace planning or validation.
When might a DIY build suit your workshop?
A DIY build may suit a team with relevant robot and welding-process knowledge, time to manage integration, and a clear internal project owner. It can offer direct control over component choices and future changes. That control is useful only if existing equipment is compatible and the proposed setup fits workshop space and production flow. If the integration scope needs closer attention, review this welding system integration guidance.
The turnkey vs DIY robotic welding cell decision isn’t a test of technical ambition. It’s a choice about where integration ownership should sit. If a coordinated approach and structured operator onboarding suit your team, explore collaborative robot welding cell options and consider how they align with your production needs.
Plan your next step with a robotic welding cell that fits your team
Turn the comparison into a practical plan. Define the weld task, review your team’s capability, test representative work, then scope the integration. This sequence connects the cell decision to what happens on the workshop floor, including how operators will teach paths, make job adjustments and work around the system.
- Define the task: Document the welds, parts and process requirements you want to address.
- Review capability: Identify who can manage integration, commissioning and operator onboarding, and how much project time is available.
- Test representative work: Use typical parts and variations to observe how the cell and operators handle the application.
- Scope integration: Set out how hardware, software, workflow and training will come together, including who owns each responsibility.
TME Systems brings collaborative robot welding cells, welding-system integration, no-code teaching software and operator onboarding together as connected parts of a solution. Operators can teach weld paths and adjust parameters using the software. A mobile demonstration system offers a practical way to observe operator interaction and assess workflow fit before settling on an approach. For more on operator-led teaching, read the no-code robot welding software guide.
What should you bring to a welding cell demonstration?
Bring representative parts, the weld requirements and examples of variation across your current jobs. Include operators and supervisors who know the workflow, loading routine and changeover demands. Use the session to observe how paths are taught, how adjustments are made and how the operator interacts with the cell. A mobile welding robot demonstration guide can help you prepare.
How can operators make the transition workable?
Involve experienced welders in trials and workflow refinement. Their practical knowledge can help shape how jobs are taught and adjusted. Plan onboarding around what operators will do, from setting up a job to refining a path or parameter. This keeps people central to the change and connects their welding experience with the new process.
A turnkey vs DIY robotic welding cell decision is more grounded once your team has seen representative work and considered who will own each step. To discuss a practical cobot welding demonstration, arrange a cobot welding demonstration.
Choose the welding cell approach your team can own
The right turnkey vs DIY robotic welding cell choice depends on more than equipment. Match the approach to your production needs, the variation in your work and the time and expertise your team can commit to integration and ongoing changes.
A coordinated project can bring cell integration and operator onboarding together, while a DIY build gives your team more direct control alongside responsibility for making the components work as a system. Either way, involve operators early and test representative work before settling the scope.
TME Systems connects welding-system integration with no-code teaching, so operators can teach weld paths and adjust parameters. A mobile demonstration can help your team observe the interaction and workflow in practice.
Ready to turn your requirements into a practical next step? Arrange a practical conversation about your robotic welding requirements. With a clear view of the task and the people who’ll use the cell, your team can move towards automation with confidence.
Frequently Asked Questions
What is the difference between a turnkey and DIY robotic welding cell?
A turnkey cell is supplied as a coordinated solution, with agreed integration and setup activities included in the project scope. In a DIY build, your team takes greater responsibility for choosing components, checking compatibility and integrating the system. The distinction is about ownership, not simply whether parts are purchased from one or several suppliers. For a fair turnkey vs DIY robotic welding cell comparison, map out who handles commissioning, onboarding and future changes.
Is a turnkey robotic welding cell easier to implement than a DIY build?
A turnkey approach can reduce the integration work your team manages directly, especially when setup and operator onboarding are part of the agreed scope. It still needs your production input, testing with representative parts and operator involvement. A DIY build gives your team more control, but also requires the time and capability to coordinate components, commission the system and manage workflow changes. Which feels easier depends on your internal resources and project requirements.
Can a small fabrication workshop build its own robotic welding cell?
Yes, a workshop can consider a DIY cell if it has suitable technical capability, available staff time and a clear project owner. First assess how repeatable the welds are, how much parts vary and whether fixtures can present parts consistently. Consider existing equipment and production priorities too. The question isn’t only whether your team can select components, but whether it can integrate, commission and support the cell without losing focus on daily work.
How much does a turnkey robotic welding cell cost compared with DIY?
There’s no useful single figure without defining the cell scope and the work your team will take on. Compare hardware and software alongside integration, commissioning and operator training. For a DIY estimate, include internal staff time for compatibility checks, coordination and setup. A component-only estimate isn’t directly comparable with an integrated project. Base the comparison on your production needs and the specific responsibilities included in each approach, rather than the headline equipment cost alone.
What happens if our production jobs change after installing a welding cell?
Job changes may call for revised weld paths, process settings, fixtures or workflow steps. Decide who will make and validate adjustments, and involve operators who know the parts and weld requirements. No-code teaching software can let operators teach weld paths and adjust parameters without traditional programming. However, changes still need suitable process validation, and the wider cell may need adjustments to fixtures or workflow to suit the new job.
Do operators need robot programming experience to use a no-code welding system?
No-code teaching is designed to let operators teach weld paths and adjust parameters without writing traditional robot code. They’ll still need onboarding in the system, the welding process and safe operating procedures. Include experienced welders in demonstrations and training so the teaching approach reflects actual parts, production variation and workshop practice. Their input can make job adjustments more familiar and keep practical welding knowledge central to how the cell is used.