What if the difference between a record-breaking production run and a week of expensive downtime is just fifteen minutes of focused attention? You've likely felt the frustration of an urgent job grinding to a halt because of a clogged tip or a sensor that's lost its way. In the fast-paced environment of an Australian workshop, it's easy to push maintenance to the bottom of the list when the order book is full. This guide provides a practical collaborative robot welding maintenance checklist designed to help you maintain your competitive edge without the guesswork.
We'll walk through the daily, weekly, and monthly routines that ensure your collaborative robot welding cells deliver consistent beads while meeting the latest AS/NZS 4024.1 safety standards and the strict 1 mg/m³ welding fume exposure limits coming into effect this December. You'll also see how no-code software simplifies your digital health checks, making it easier for your team to optimise performance every shift. By the end, you'll have a repeatable routine that protects your hardware investment, extends the life of your equipment, and keeps your operators safe.
Key Takeaways
- Protect your equipment's ROI by understanding how typical Australian workshop conditions, such as dust and humidity, affect your hardware longevity.
- Implement a practical collaborative robot welding maintenance checklist to ensure your cell is ready for high-volume production every morning.
- Master the relationship between consumable wear and arc stability to achieve consistent, high-quality weld beads without the need for manual rework.
- Simplify your digital safety audits and system backups by utilising the intuitive interface of your no-code robot welding software.
- Foster long-term reliability by integrating operator training into your workshop culture, ensuring your team can confidently manage daily hardware upkeep.
Why Proactive Maintenance is Critical for Australian Cobot Welding Cells
For most Australian fabricators, the shift toward automation is about solving the welder shortage and boosting output. However, the true value of your collaborative robot welding cells is only realised when they run consistently. Proactive maintenance isn't just about avoiding a breakdown; it's about protecting the return on investment you've worked hard to build. When you treat maintenance as a foundational part of your workflow, you move away from being reactive and start taking control of your production schedule.
Our local workshops often face unique environmental challenges. High humidity in coastal regions or heavy dust in regional industrial hubs can settle on sensitive electronics and mechanical joints. Without a structured collaborative robot welding maintenance checklist, these factors can lead to premature wear or sensor interference. For a foundational look at the components involved in these systems, a Robot welding overview provides a useful perspective on how these cells integrate for industrial use.
In a high-output shop, waiting for a fault code is a risky strategy. This is the core difference between corrective maintenance, which happens after the damage is done, and preventive maintenance, which stops the damage before it starts. Beyond the technical benefits, a solid routine empowers your operators. It gives them the confidence that the machine will perform as expected, turning them from simple users into capable stewards of the technology.
Protecting Weld Consistency and Quality
Precision is the primary reason for automating. If your robot arm experiences even a 1mm deviation due to loose mounting or neglected mechanical joints, you're looking at a bin full of scrap. Mechanical wear is inevitable, but it shouldn't be unpredictable. Improving welding productivity with cobots depends entirely on the hardware's ability to repeat the same path thousands of times. If hardware health slips, your weld consistency follows.
Meeting Australian Safety and Compliance Expectations
Safety is a non-negotiable part of the Australian manufacturing landscape. To remain compliant with AS/NZS 4024.1, your cobot's force-sensing capabilities must be accurate. Dust buildup on sensors or neglected calibration can compromise the 'collaborative' nature of the cell. Documented maintenance logs aren't just paperwork; they're your best defence for reducing liability and ensuring every operator stays safe. With new Australian welding fume exposure limits of 1 mg/m³ coming into effect in December 2026, keeping your extraction systems integrated with your collaborative robot welding maintenance checklist is also a legal necessity.
The Daily and Weekly Hardware Maintenance Checklist
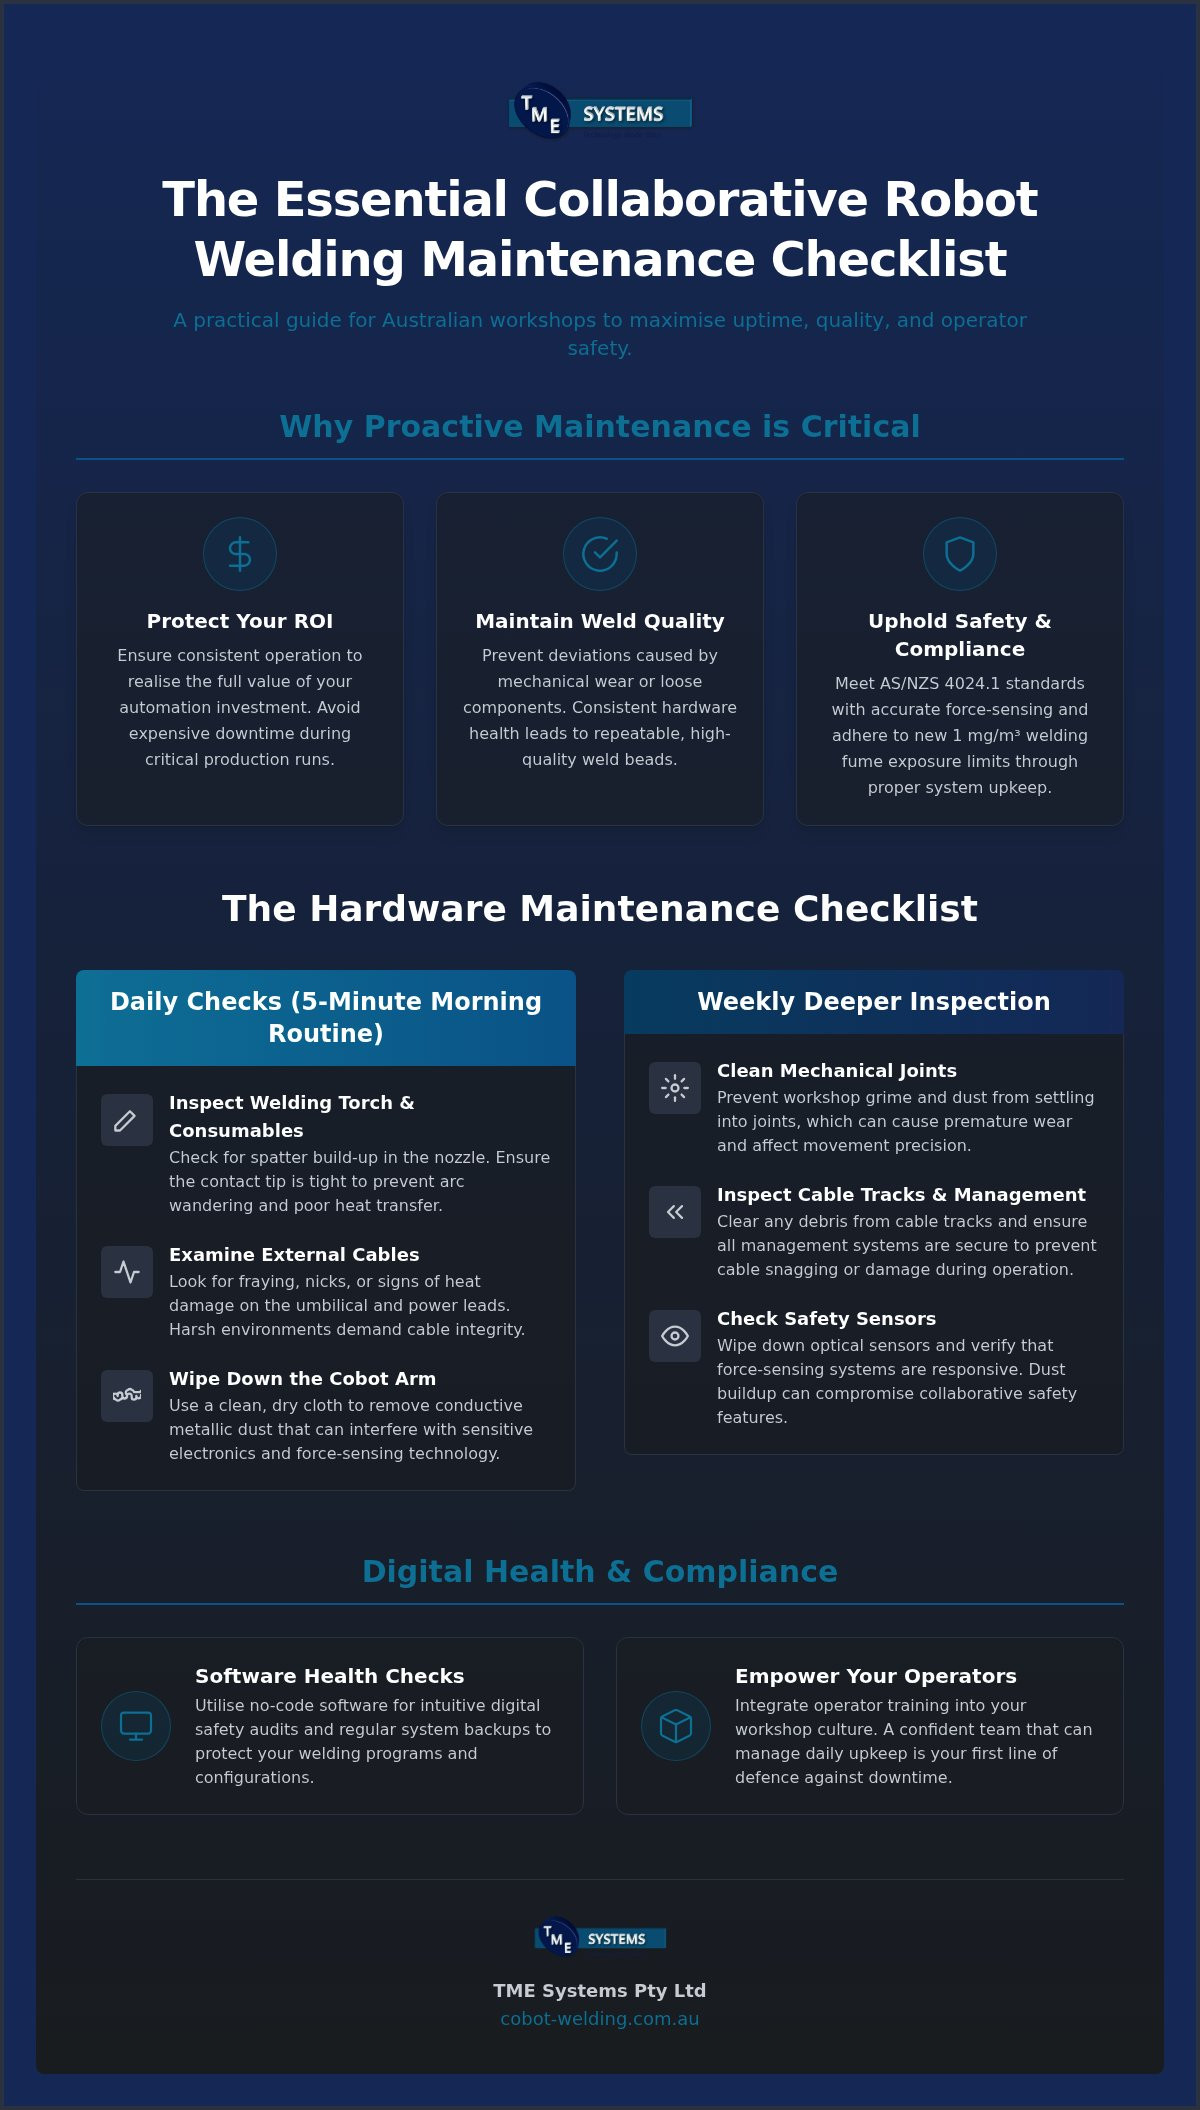
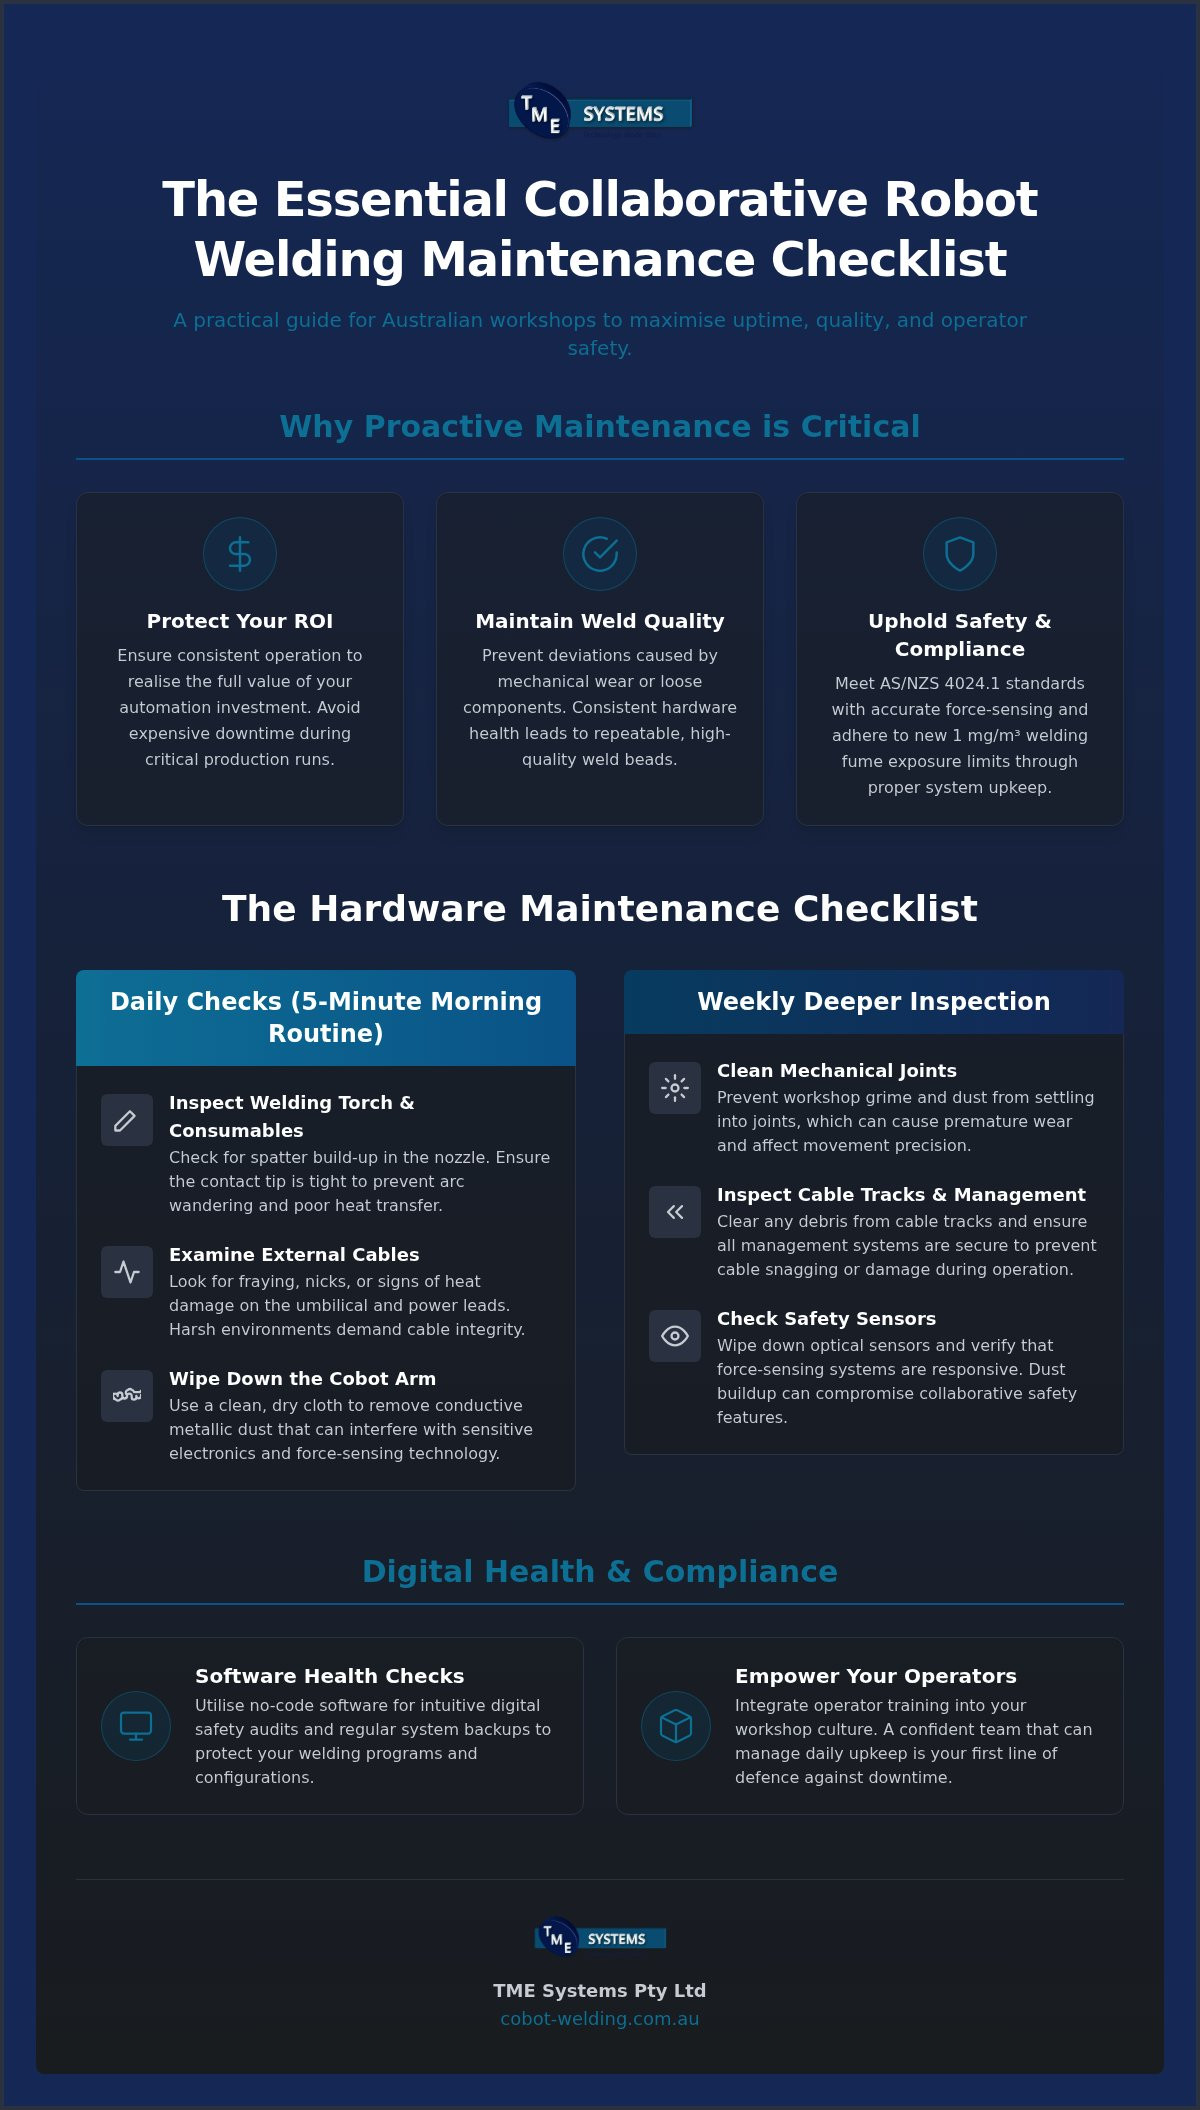
Most operators want to get straight into the first arc of the day to meet production targets. However, skipping the basics leads to variability that eventually shows up in your weld quality. A practical collaborative robot welding maintenance checklist shouldn't take more than five minutes each morning. It's about catching the small issues, such as a loose mounting bolt or spatter on a sensor, before they turn into a mid-shift disaster that halts your entire line.
Consistency is the goal here. If your team treats the hardware with the same respect as their manual torches, the equipment will return the favour with years of reliable service. Beyond the daily checks, a slightly deeper weekly review ensures that workshop grime doesn't settle into the mechanical joints or cable tracks.
Daily Mechanical Inspections
This routine should be the first thing your operator does when they power up the cell. It's a simple walk-around that identifies immediate risks to production. Focus on these four areas:
- Inspect the welding torch: Check for spatter build-up in the nozzle and ensure the contact tip is tight. A loose tip causes arc wandering and poor heat transfer.
- Examine external cables: Look for fraying, nicks, or signs of heat damage on the umbilical and power leads. Welding environments are harsh; cables are often the first thing to suffer.
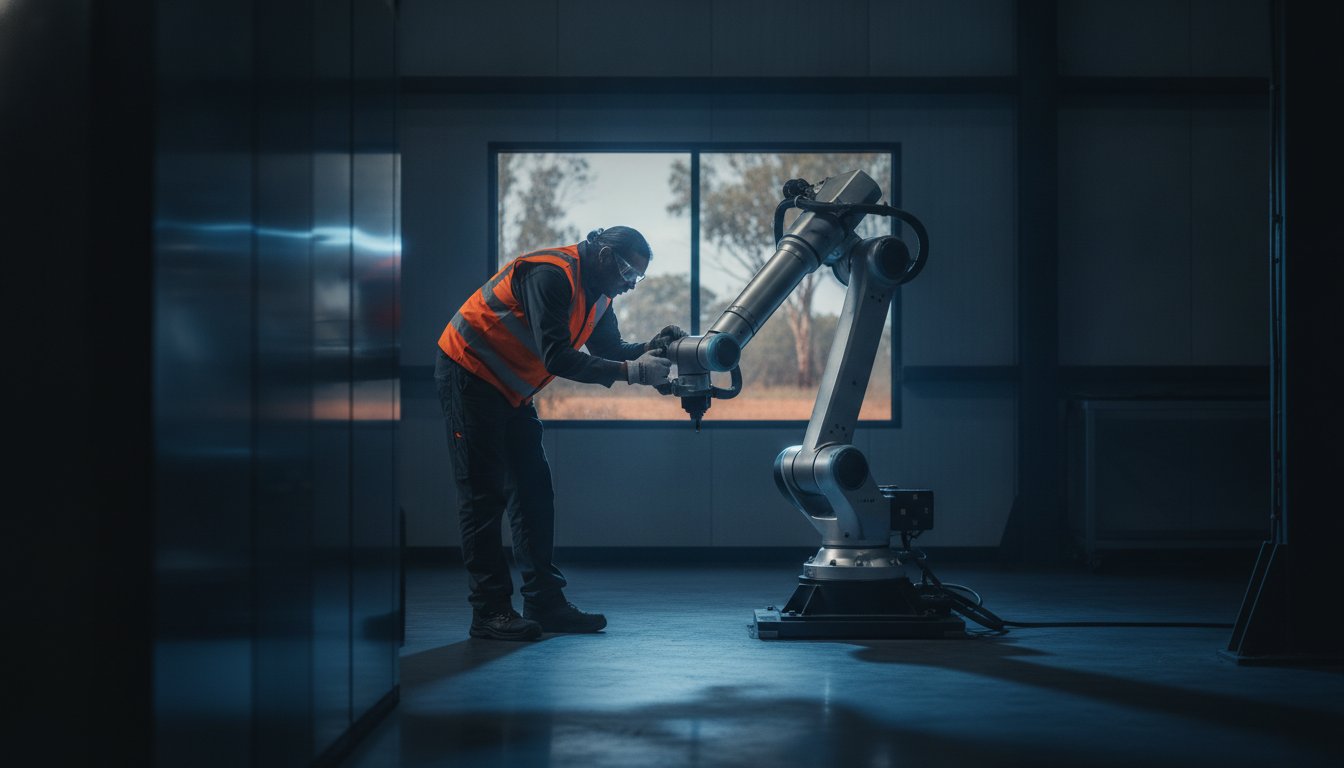
- Wipe down the cobot arm: Use a clean, dry cloth to remove metallic dust. Because this dust is conductive, it can interfere with the sensitive electronics. Keeping the arm clean ensures the force-sensing technology operates within the collaborative welding safety standards expected in modern manufacturing.
- Verify gas and regulators: Ensure your shielding gas levels are sufficient for the shift and that the regulator is set to your procedure's specifications.
Weekly Integrity and Cable Management
Once a week, take an extra ten minutes to look at the "bones" of the system. Start by moving the arm through its full range of motion. Listen carefully for any unusual clicking, grinding, or vibrations in the joints; these are red flags for internal wear. Check the cable management system to ensure nothing is snagging or under excessive tension during complex weld paths.
Don't forget the foundation. Vibrations from high-speed movements can slowly loosen the bolts securing the cobot base to the welding table. A quick check with a spanner prevents path deviations. Finally, inspect the wire feeder rollers. Clean out any metal shavings and ensure the tension is set correctly to prevent birdnesting. If you're looking to see how these routines fit into a live workshop environment, booking a mobile demo system visit can provide a hands-on look at the hardware in action.
Managing Consumables and Weld Quality Consistency
While the robot arm provides the movement, the consumables do the heavy lifting. Robotic welding is far more demanding on contact tips and shrouds than manual welding because the duty cycles are significantly higher. A manual welder naturally pauses to check their work or change positions, but a cobot is designed to keep the arc struck for longer periods. This constant heat makes managing your consumables a critical part of your collaborative robot welding maintenance checklist.
Using high-quality Australian-sourced consumables is a smart move for local fabricators. Not only does it ensure a reliable supply chain, but it also provides better consistency in tip tolerances. When you're running a high-output cell, even a tiny variation in tip diameter can lead to arc instability and expensive rework. Developing a proactive 'change-out' schedule based on your shift volume, rather than waiting for the tip to fail, is the best way to maintain a 'set-and-forget' workflow.
The Torch End: Contact Tips, Shrouds, and Diffusers
The most common issue in robotic welding is 'keyholing' in the contact tip. This occurs when the wire wears an oval shape into the exit hole, causing the arc to wander. While a human might compensate for this, the robot cannot. You should also regularly inspect the gas diffuser and shroud. Spatter build-up inside the shroud disrupts the shielding gas flow, leading to porosity. A quick application of anti-spatter spray and a mechanical clean every few hours can double the life of these components.
The Feed System: Liners and Drive Rollers
The wire feed system is the heart of your weld consistency. Over time, copper coating from the wire flakes off and builds up inside the liner. If you don't blow this out with compressed air weekly, the friction will cause erratic wire feeding or 'bird-nesting' at the drive rollers. Check that your drive rollers aren't too tight; excessive pressure can deform the wire, making it harder to feed through the tip. Ensuring the wire spool is correctly tensioned prevents the wire from overrunning when the robot stops, which is a simple but effective addition to your collaborative robot welding maintenance checklist.
Software Health and Collaborative Safety Audits
Many fabricators focus solely on the torch and the arm, but the software running your cell is just as vital. It's the engine that drives your productivity. If your software isn't healthy, your hardware won't be either. Including digital checks in your collaborative robot welding maintenance checklist ensures that your programmes remain accurate and your safety protocols stay sharp. Software health is about more than just clicking 'update'; it's about protecting the logic that makes your automation possible.
No-Code Software and Path Backups
The beauty of modern no-code robot welding software is how easily it allows operators to adjust paths on the fly. However, this flexibility means that programmes change often. You don't want to lose a perfected weld path because of a hardware glitch or an accidental deletion. We recommend creating a weekly backup of your most common weld programmes to an external drive or secure cloud storage. This is your best insurance policy against unscheduled downtime.
Spend a moment checking your teach pendant or control tablet as well. Is the screen responsive? Are there any cracks that could let in metallic dust? Verify that any path adjustments made during the shift are saved correctly before powering down. Keeping the software environment clean and organised is just as important as keeping the workshop floor tidy. When your digital files are structured, job changeovers become faster and more reliable.
Safety System Functionality Tests
Collaborative robots are designed to work alongside people, but that safety is dependent on regular calibration. You can't assume the force-sensing limits set months ago are still perfectly accurate today. Part of your monthly collaborative robot welding maintenance checklist should involve testing these limits. Gently trigger a safety stop to ensure the robot reacts as expected according to your specific risk assessment. This ensures the 'collaborative' part of the name remains a reality for your team.
Test every Emergency Stop button in the cell. It's a simple check that takes seconds but is critical for AS/NZS safety compliance. If your cell includes integrated light curtains or area scanners, ensure the lenses are clean. Metallic dust buildup on these sensors can cause 'ghost' stops, which kill your efficiency. Software updates often include refinements to these safety features and new welding functions, so keep your system current to benefit from the latest performance improvements. Maintaining the digital side of your cell shouldn't be intimidating. If you're ready to see how accessible these systems can be, explore our collaborative robot welding cells and see the technology in person.
Partnering for Long-Term Reliability and Support
While a daily collaborative robot welding maintenance checklist keeps your cell running shift-to-shift, long-term reliability depends on the people behind the machine. You aren't just buying a piece of hardware; you're investing in a new way of working. This requires a shift in mindset where maintenance becomes a collaborative effort between your internal team and your technology partners. In a busy Australian workshop, having a support network that understands local manufacturing realities makes all the difference.
The Role of Operator Training
Effective on-site cobot welder training turns your staff from mere operators into skilled stewards of the technology. When a team member understands the mechanics of the arm, they start to notice the early warning signs that a sensor is drifting or a joint is under stress. They can use the intuitive no-code interface to run basic diagnostic checks, identifying software errors before they impact production. This culture of ownership is the best defence against neglected maintenance. It ensures the cell is treated with the same precision as a master craftsman's favourite tools.
When to Call the Experts
There are times when internal checks aren't enough. Complex issues, such as recalibrating the entire power source interface or updating safety protocols for a new production line, require professional cobot welding integration expertise. Having a local Australian technical support team means you don't have to wait weeks for parts to clear customs or deal with time-zone delays for a simple software fix. Local experts provide the steady confidence you need to keep your workshop moving.
We recommend scheduling an annual professional service audit. Think of it as a deep-dive into the system that goes beyond the standard collaborative robot welding maintenance checklist. These specialists can look at the data logs to spot trends that might indicate future component failure. If you're still in the planning phase, booking a mobile welding robot demonstration is an excellent way to see these maintenance routines and support structures in action on your own workshop floor. It allows your team to ask specific questions about upkeep and reliability before the first cell is even installed. This proactive approach ensures your automation journey is a successful, long-term partnership.
Securing the Future of Your Workshop Floor
Implementing a structured collaborative robot welding maintenance checklist is the most effective way to transition from reactive repairs to steady, high-output production. By focusing on daily hardware checks and regular software backups, you're not just maintaining a machine; you're protecting the consistency and craftsmanship that define your business. These small, repeatable routines ensure your equipment remains a reliable partner for your operators rather than a source of frustration.
As specialists in no-code welding automation, we provide turnkey solutions designed specifically for the realities of the local manufacturing landscape. Our Australian-based technical support team is here to ensure your systems remain compliant and efficient, protecting your hardware investment for years to come. Innovation doesn't have to be intimidating when you have the right framework and a trusted partner by your side.
Book an on-site demonstration to see our collaborative welding cells in action and discover how practical, well-maintained automation can transform your workshop's productivity today.
Frequently Asked Questions
How often should I clean the sensors on my collaborative welding robot?
You should wipe down your sensors daily as part of your collaborative robot welding maintenance checklist. In particularly dusty Australian workshops, a quick clean at the start of each shift is best practice. Metallic dust is conductive and can settle on the force-sensing joints, leading to false readings or "ghost" stops. A simple wipe with a clean, dry microfibre cloth ensures the arm maintains its precision and remains safe for human interaction.
Do I need a specialised technician to perform daily maintenance on a cobot?
You don't need a specialised technician for daily upkeep. One of the main benefits of collaborative robot welding cells is that they are designed for workshop operators to manage. Basic tasks like checking contact tips, wiping down sensors, and inspecting cables are covered during our operator training and onboarding. This empowers your team to take ownership of the equipment, leaving complex integration adjustments to the experts during annual professional audits.
What are the signs that my welding torch liner needs replacing?
Look for signs of erratic wire feeding or arc instability, which often indicate a worn or clogged liner. If you notice "bird-nesting" at the drive rollers or if the wire seems to jerk during the weld, it's time for a change. Over time, the copper coating from the welding wire flakes off and accumulates inside the liner. Blowing it out weekly with compressed air helps, but a full replacement is necessary once friction impacts consistency.
How do I backup my weld programmes in no-code software?
Backing up your programmes is straightforward within the no-code teaching software interface. Most systems allow you to export your saved weld paths and parameters directly to a secure USB drive or a networked cloud folder. It's best to perform this backup weekly, especially after refining a complex job. Having these digital copies ensures you can restore your production settings quickly if the hardware is ever damaged, reset, or requires a software update.
Is it necessary to grease the joints of a collaborative robot arm?
Most modern collaborative robot arms feature "greased-for-life" joints and don't require manual lubrication by the operator. Attempting to grease these joints yourself can actually damage the internal seals and sensitive electronics. Instead, focus your collaborative robot welding maintenance checklist on checking for oil leaks or unusual noises during movement. If you hear grinding or clicking, it's a signal to contact your technical support team for a professional mechanical inspection.
Can I use standard MIG consumables on a robotic welding torch?
You can often use standard MIG consumables, but we recommend heavy-duty versions designed for the higher duty cycles of robotic welding. Robotic torches face more intense heat because they strike the arc for longer periods than a manual welder. Using high-quality, Australian-sourced contact tips and shrouds ensures better heat dissipation and reduces the frequency of "keyholing." This consistency is vital for maintaining the repeatable weld quality that justifies your automation investment.
What should I do if the cobot fails its safety force-limit test?
If the arm fails a force-limit test, you should immediately stop production and check for physical obstructions or heavy dust buildup on the joints. Ensure the robot base is still securely bolted to the welding table, as vibrations can cause shifts that impact sensor readings. If the problem persists after a clean and reboot, use your no-code software to run a sensor recalibration. If it still fails, contact your integration specialist for a safety audit.
Does the Australian heat impact the performance of my welding robot's electronics?
Extreme Australian heat can impact the electronics if the control box isn't properly ventilated. High ambient temperatures in a tin shed can lead to thermal throttling, where the robot slows its movements to protect internal components. Ensure the cooling fans are free of dust and that the controller is positioned in a spot with decent airflow. Keeping the control cabinet clean is a simple way to prevent heat-related downtime during the summer months.