What if your most experienced welder could program a robot in the time it takes to finish a smoko, without ever touching a line of code? Many Australian fabricators feel the weight of a tightening labour market, yet they hesitate to automate because they've seen expensive robots sit idle as "paperweights" that nobody knows how to use. It's a valid concern; if a system is too slow for small-batch jobs or too complex for the workshop floor, it isn't solving your problems.
This guide is designed to show you how modern weld path teaching software changes that dynamic. You'll learn how to empower your team to lead the automation process, ensuring consistent quality that meets AS/NZS ISO 3834.2:2023 standards without needing a computer science degree. We will walk through the practicalities of no-code systems, from achieving faster turnaround times on repetitive tasks to the seamless integration of collaborative robots into your daily workflow. By the end, you'll understand how to turn your workshop into a more productive, tech-enabled environment where your best people spend their time refining the process rather than fighting with a keyboard.
Key Takeaways
- Understand how modern weld path teaching software allows your best operators to program robots through intuitive hand-guiding rather than complex lines of code.
- Learn the step-by-step process of lead-through teaching to create precise 3D paths for high-mix, low-volume fabrication jobs.
- Recognise when no-code automation outperforms traditional programming to help your workshop handle small-batch jobs with much faster turnaround times.
- Discover how to fine-tune weld parameters mid-run to ensure consistent quality and minimise time spent on rework and grinding.
- Ensure your automation setup complies with the latest Australian safety standards while choosing a partner who offers dedicated operator onboarding.
Understanding Weld Path Teaching Software in 2026
In 2026, the gap between a welder’s expert hand and a machine’s precision has finally closed. For years, robotic welding was seen as a luxury reserved for high-volume automotive plants, but today, it is a practical tool for the average Australian job shop. At its core, weld path teaching software acts as a bridge. It takes the years of "feel" and technique a veteran welder possesses and translates it into repeatable robotic motion. We define no-code teaching as a method where operators physically or visually guide the robot through a task without writing a single line of computer syntax.
This year represents a tipping point for the Australian manufacturing sector. With a persistent shortage of skilled tradespeople and a high return rate for traditional industrial robotics, shops are looking for systems that actually work on day one. The transition from traditional coding to no-code interfaces means your best people spend their time welding, not troubleshooting software. It's about making automation a helper rather than a headache.
The Problem with Traditional Robot Programming
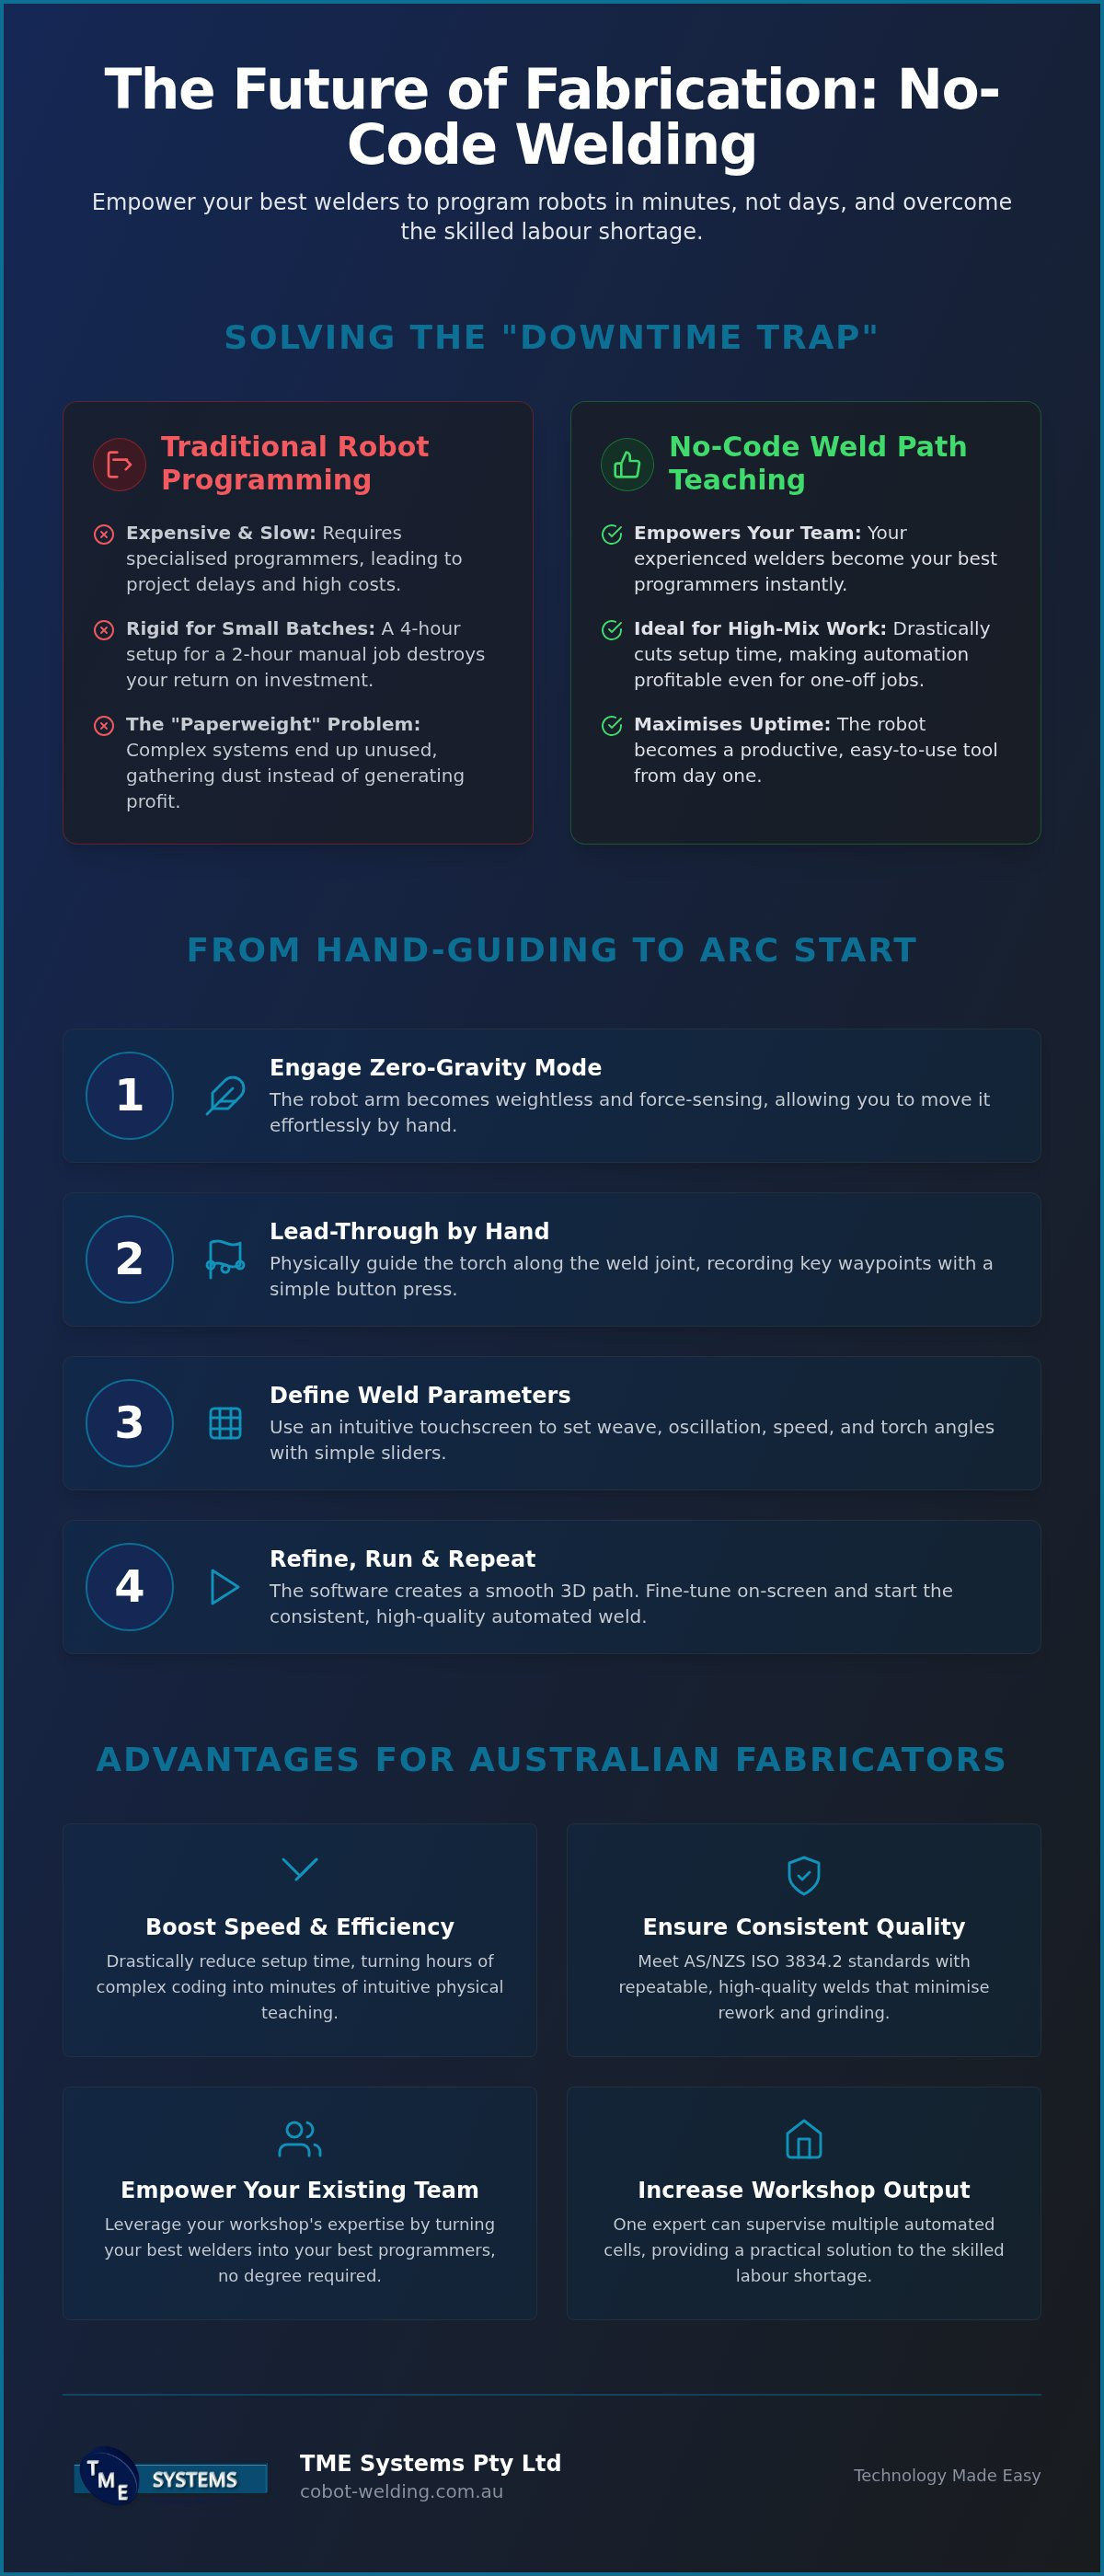
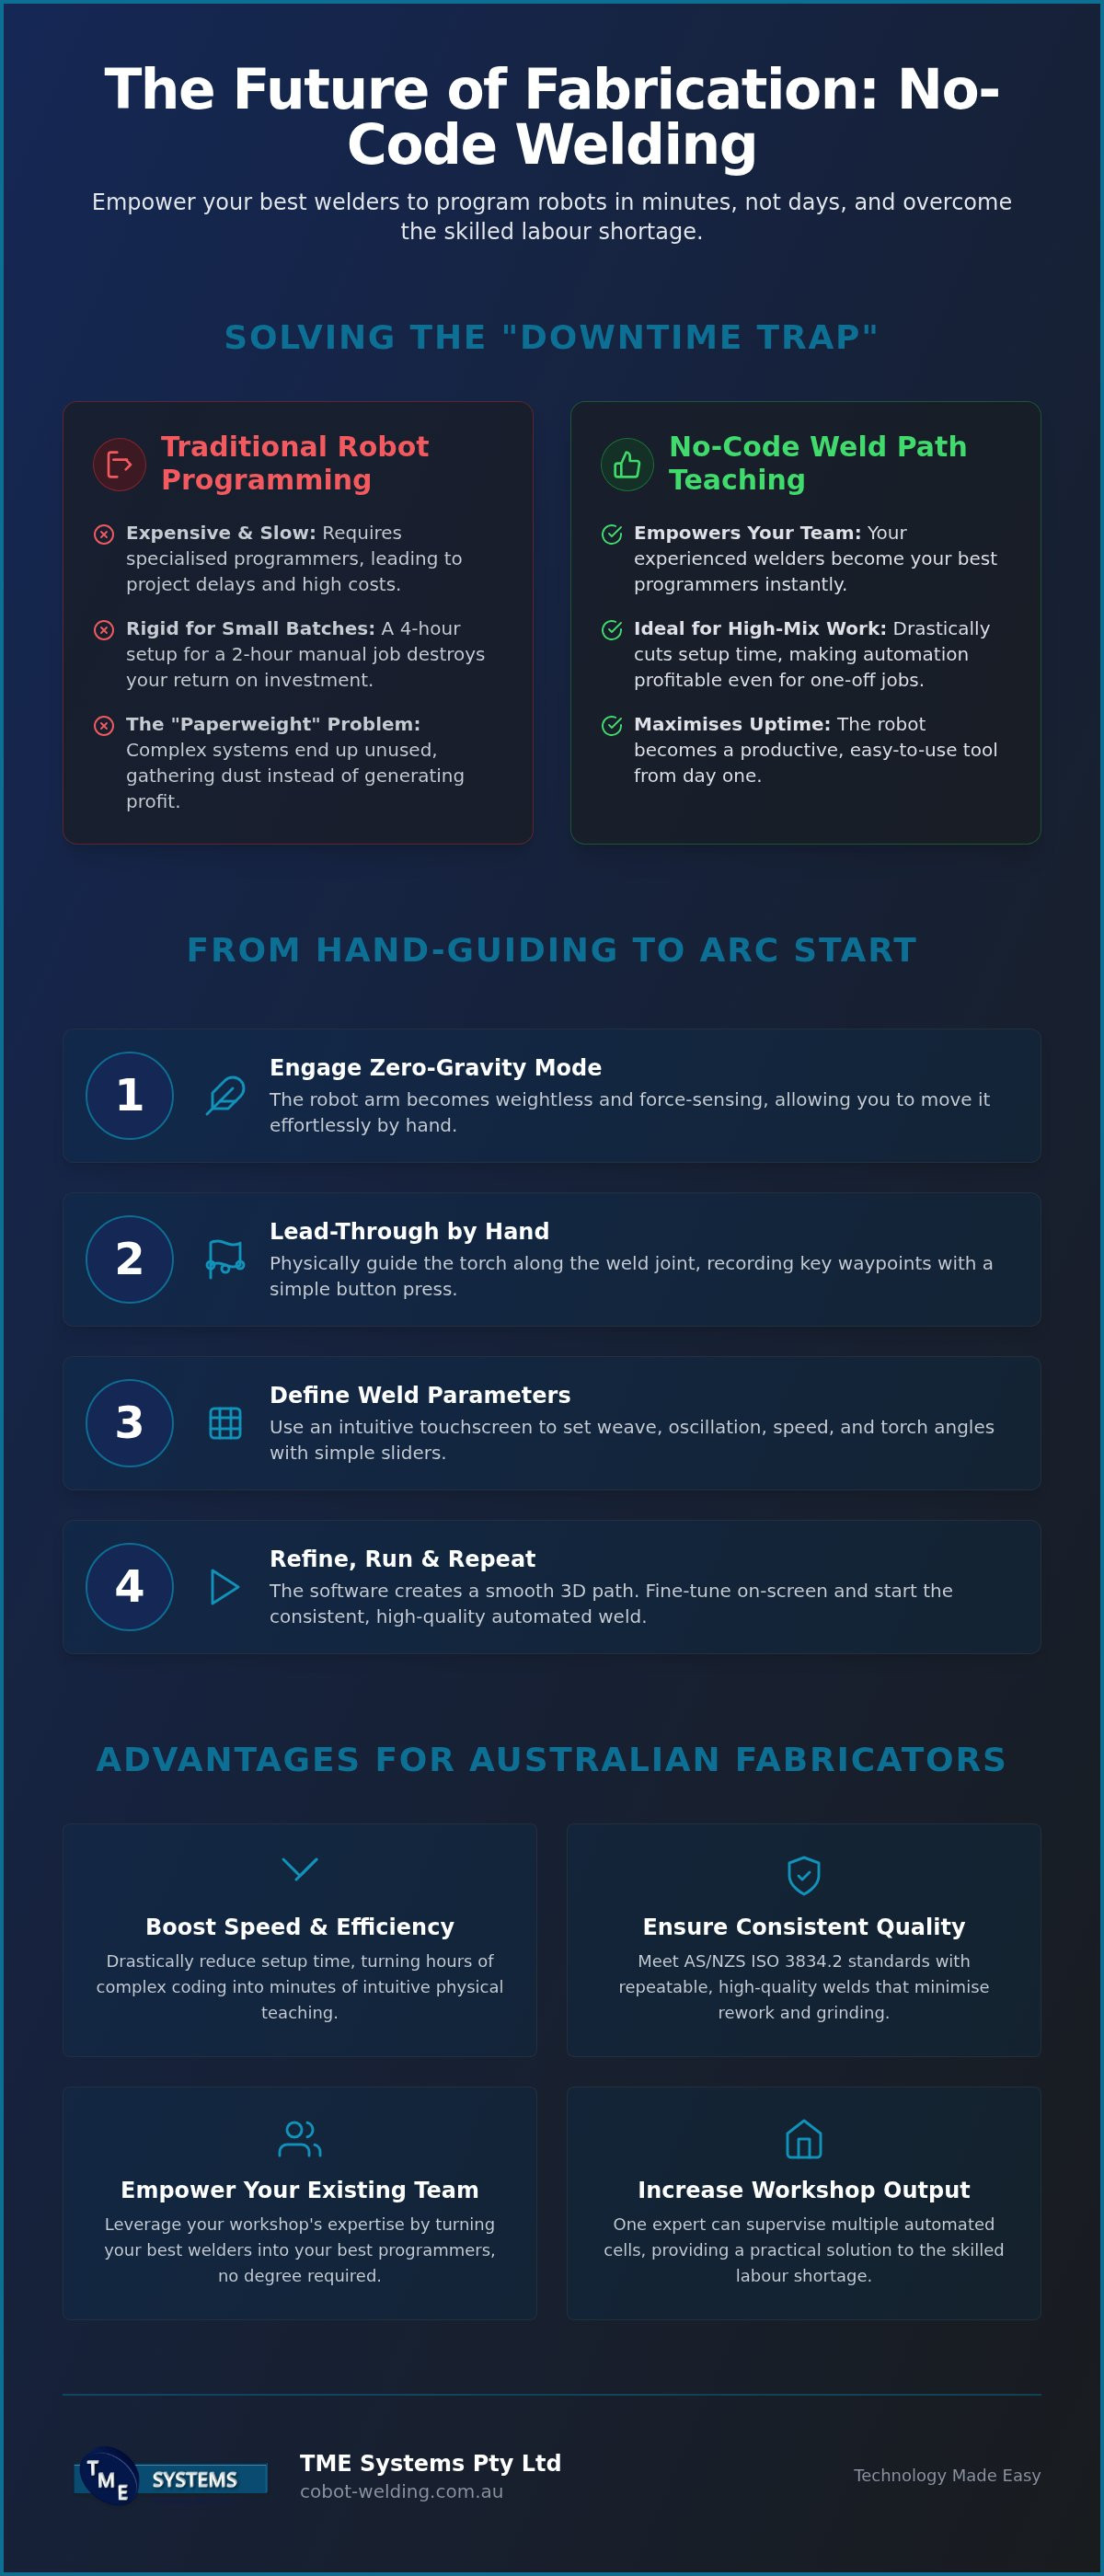
Traditional automation often fails in small-batch environments because the programming phase is too rigid. Hiring a specialised programmer is expensive, and waiting for them to arrive on-site can stall a project for days. This leads directly to the "Downtime Trap." If it takes four hours to code a path for a job that only takes two hours to weld manually, the ROI simply disappears. It's the primary reason many traditional robots in Australia end up gathering dust in the corner of a shed. They're often too slow to set up for the variety of work coming through the door, making them feel like a "paperweight" rather than a productive asset.
The Rise of the "No-Code" Movement in Fabrication
The shift toward no-code interfaces is about democratising technology on the workshop floor. Instead of forcing a welder to learn a new language, the software adapts to how a welder already thinks. This "torch-first" approach keeps the experienced operator in total control of the weld parameters, such as travel speed and torch angles. By using intuitive weld path teaching software, the focus remains on the quality of the bead rather than the complexity of the computer code. It empowers the people you already have, turning them into supervisors of a digital tool. It ensures that the human operator remains the centre of the process, using their craft to guide the machine's repeatability.
How No-Code Teaching Works: From Hand-Guiding to Arc Start
The beauty of modern weld path teaching software lies in its simplicity. Instead of sitting at a desk with a manual, you stand at the workbench with the robot. The process begins with lead-through programming, a method that allows you to physically grab the robot arm and move it to the exact spot where the weld needs to start. This approach effectively removes the intimidation factor often associated with welding automation, putting the tools directly back into the hands of the tradesperson.
Lead-Through Programming Explained
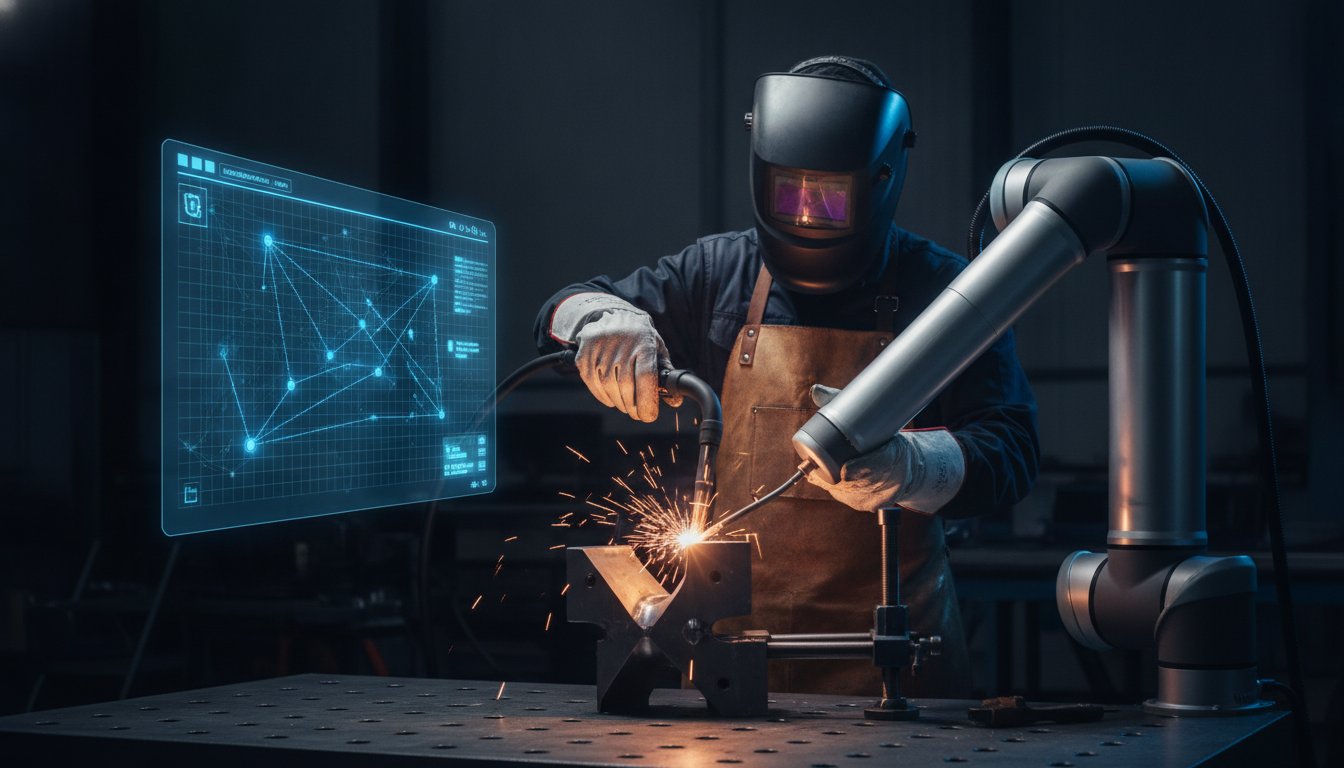
When you engage the robot’s Zero-Gravity or Force-Sensing mode, the arm becomes weightless. You guide the torch along the joint just as you would during manual fabrication. As you move, you press a button on the arm or a tablet to record waypoints. The software then connects these points in 3D space to create a smooth, continuous path. For thicker materials where a single pass isn't enough, the software allows you to easily add a weave or oscillation pattern. You simply define the width and frequency of the weave on a slider, and the system calculates the complex torch movements automatically.
This physical interaction is usually supplemented by a Teach Pendant or tablet interface, but the heavy lifting of the logic is handled in the background. The software ensures that the transition between Air Moves, where the robot moves between welds, and Weld Moves, where the arc is live, is seamless. If you're curious about how this looks in your own shop, you can book a mobile demo system to see the lead-through process in action on your actual parts.
Visual Interfaces and Touchscreen Controls
Once the points are recorded, the operator uses a visual interface to refine the job. Forget about text-based syntax; instead, you see a 3D representation of the path on a touchscreen. Using drag-and-drop logic, you can adjust the sequence of welds or change parameters like travel speed and wire feed. This real-time visualisation is a critical safety feature. It allows you to simulate the entire cycle before the arc ever strikes, identifying potential collisions with jigs or clamps. By using intuitive weld path teaching software, you can handle complex geometries like circular welds on a pipe or multi-pass fillets on a heavy chassis, translating your physical guidance into a precise, repeatable program that integrates directly with your existing welding power source.
Teaching vs. Traditional Programming: Which Suits Your Shop?
Choosing the right approach to automation depends on the reality of your workshop floor, not just the specs on a brochure. While some systems lean heavily on CAD data, weld path teaching software prioritises the physical part in front of the welder. This distinction is vital for Australian fabricators who often deal with "dirty" CAD files or parts that don't perfectly match the original drawings. If you have to spend three hours cleaning up a digital model just to start programming, you've already lost the productivity race.
The "Batch of One" dilemma is a common hurdle in local shops. Is it actually worth teaching a robot to weld a single part? In many cases, if the setup and teaching take fifteen minutes for a job that takes twenty minutes to weld, the answer is yes. It frees up your skilled welder to prep the next jig or handle a more complex task. This is where the specific benefits of no-code robot welding software become clear; it reduces the "programming tax" so that even small runs become profitable.
When to Choose No-Code Teaching Software
No-code systems are the sweet spot for repetitive production runs ranging from 10 to 500 parts. They're ideal for workshops where the operator is a trade-qualified welder rather than a computer programmer. Because the software is designed for the workshop floor, it's often the fastest way to get a collaborative robot welding cell earning its keep. If your work involves simple geometries, standard jigs, and frequent job changes, physical teaching is almost always faster than desk-based coding. It allows the person with the most welding knowledge to stay in the driver's seat.
When CAD-to-Path Might Be Better
There are times when offline programming (OLP) takes the lead. Extremely complex parts with tight internal spaces might make it difficult to physically hand-guide a torch. Similarly, if you're running massive production volumes where every millisecond of cycle time must be optimised, OLP allows for deep simulation and fine-tuning. Some modern Australian factories now use a hybrid approach; they use CAD-based paths for the heavy lifting and weld path teaching software for quick adjustments on the fly. This ensures the robot stays productive even when the digital model and the physical part don't quite line up.
Implementing Automated Path Adjustments in Your Production Line
One of the biggest misconceptions about automation is that once a path is set, it’s permanent. In a real Australian job shop, parts vary and fit-up isn't always perfect. High-quality weld path teaching software allows you to make precise adjustments to a program without having to re-teach the entire sequence. This flexibility is what keeps the production line moving when things don't go exactly to plan, ensuring that your robot adapts to the metal rather than the other way around.
Adjusting Jobs on the Fly
A common scenario involves the "dry run." After teaching a path, you might realise a fixture or a clamp is sitting too close for comfort. Instead of starting over, you simply select the specific waypoint on your tablet and nudge it a few millimetres. This ability to refine the path ensures a collision-free cycle and minimises downtime. For symmetrical parts, such as base plates or frames, you can use copying and mirroring functions to cut your teaching time in half. By organising these programs into a Job Library, you ensure that any staff member can load a pre-taught path, making the system accessible to the whole team rather than just one specialist.
Overcoming the Skills Gap with Intuitive Tech
The labour market remains tight, but intuitive software helps bridge the gap. By simplifying the interface, you can turn junior welders into capable robot operators with minimal fuss. While your senior tradespeople focus on complex, bespoke work, your juniors can manage the repetitive runs. This shift is supported by on-site cobot welder training, which focuses on the software interface rather than complex coding. It creates a more attractive workplace for the next generation of Aussie apprentices who are often keen to work with modern tools.
Consistent path execution also means less time spent on rework. When the software monitors arc stability and maintains the exact voltage and wire feed speed you’ve set, the weld quality remains uniform. This drastically reduces the time your team spends on grinding and cleaning up spatter, leading to a much faster turnaround on repetitive fabrication jobs. If you want to see how these adjustments work in a live environment, you can book a mobile demonstration for your workshop.
Choosing the Right Software for Australian Fabrication Standards
Selecting the right weld path teaching software is a decision that affects your workshop's bottom line for years. It isn't just about finding the flashiest interface; it's about ensuring the tool is compatible with your existing power sources and the specific gas mixes you use in your shed. Many fabricators worry about buying a "paperweight" that sits idle because the software is too hard to update or lacks local technical backing. To avoid this, a physical Proof of Concept is vital. You need to see how the system handles your actual parts and your specific fabrication hurdles before you sign off on a license.
The Importance of Local Australian Support
Relying on "off-the-shelf" software from overseas often leads to integration headaches. When a glitch occurs mid-morning, a support desk in a different time zone isn't much help to a busy Australian workshop. A local partner can demonstrate the system on-site, ensuring the software is correctly configured for the Australian grid and local welding standards. This hands-on approach moves the relationship from a simple transaction to a long-term partnership focused on your team's ongoing success. It also ensures your weld path teaching software stays updated with the latest driver support for the hardware you already own.
Safety and Compliance on the Workshop Floor
In 2026, safety is a software-first priority. Your chosen digital interface must help you meet AS/NZS 4024.1 safety standards for collaborative work. This involves more than just a physical barrier; the software should allow you to set digital safety zones and speed limits that automatically engage when a human operator enters the workspace. Integrating emergency stops and light curtains directly into the teaching interface creates a transparent culture of safety. When the controls are intuitive, your team feels confident working alongside the machine rather than being intimidated by it.
Ultimately, the right digital tool should empower your tradespeople to do what they do best: weld. By picking a partner who provides thorough operator onboarding rather than just hardware, you can effectively improve welding productivity with cobots. This ensures your investment delivers consistent quality, reduces rework, and helps you stay competitive in a demanding national market. Choosing a partner who understands the local skills gap and the reality of the Australian workshop floor is the final piece of the automation puzzle.
Take the Next Step Toward Smarter Fabrication
Adopting automation doesn't have to be a leap into the unknown. By choosing intuitive weld path teaching software, you're putting the power of robotics into the hands of your most skilled tradespeople. We've explored how this technology bridges the local skills gap, allows for profitable small-batch runs, and ensures your workshop meets the latest Australian safety standards. It’s about making your business more resilient and your production lines more consistent without losing the human touch that defines quality craftsmanship.
To see how these systems handle your specific parts, book a mobile demo to see no-code teaching in action at your workshop. Our mobile demo system brings the technology directly to your floor, and our on-site training ensures your team is proficient from day one with specialised support for Australian manufacturing standards.
The future of Australian fabrication is collaborative; it's time to give your team the tools they need to lead the way.
Frequently Asked Questions
Do I need to know how to code to use weld path teaching software?
You don't need any coding knowledge to operate weld path teaching software. The system is built for trade-qualified welders who understand the logic of a good bead but don't want to learn computer syntax. Instead of typing code, you physically move the robot arm to record points or use a simple touchscreen interface. This approach ensures your experienced staff stay in control of the fabrication process without needing a background in software engineering.
How long does it take to teach a robot a new weld path?
Teaching a new path typically takes only a few minutes for straightforward jobs. For a simple linear weld, an operator can hand-guide the robot and set the parameters in less time than it takes to set up a manual jig. While more complex geometries with multiple passes may take slightly longer, the process remains significantly faster than traditional programming. This speed makes it viable to automate even small production runs that were previously too slow to program.
Can I use this software with my existing MIG or TIG welder?
Yes, our software and collaborative cells are designed for seamless welding system integration with most professional MIG and TIG power sources. Whether you are running a modern digital inverter or an older reliable unit, the interface can communicate with the welder to control the arc start, stop, and wire feed speed. This flexibility allows you to keep using the equipment and consumables your team is already comfortable with while gaining the repeatability of automation.
What happens if the parts don’t fit perfectly every time?
Modern software is flexible enough to handle the slight variations common in Australian workshops. If a part fit-up isn't perfect, the operator can use the touchscreen to nudge specific waypoints or adjust the parameters to bridge a larger gap. You don't always need perfect jigs; the software provides the tools to fine-tune the path to suit the physical part. This adaptability reduces rework and ensures the robot remains productive even with imperfect materials.
Is no-code software suitable for small-batch Australian fabrication?
Absolutely, no-code solutions are the ideal choice for high-mix, low-volume Australian fabrication. Because the setup time is so low, it becomes economically viable to automate batches as small as ten or twenty parts. Traditional automation often fails in these environments because the programming takes longer than the welding itself. By using weld path teaching software, you can swap between different jobs quickly, keeping your robot earning its keep throughout the entire shift.
Does the software work with aluminium and stainless steel welding?
Yes, the software is fully capable of managing the specific parameters required for aluminium and stainless steel. You can easily adjust the travel speed, wire feed, and gas pre-flow settings within the interface to suit the material and thickness you are working with. The system maintains consistent torch angles and speeds, which is particularly beneficial for materials like aluminium that are sensitive to heat input and require steady, precise movement to avoid defects.
What kind of training is required for my staff to use the software?
We provide comprehensive operator training and onboarding that typically gets a welder up to speed in a single day. This hands-on training takes place on your workshop floor, focusing on the software interface and safety protocols. Because the system is intuitive, your staff don't need weeks of classroom study. We focus on empowering your team to manage the robot independently, ensuring they have the confidence to teach new parts and troubleshoot jobs from day one.
Can I adjust the weld speed and voltage within the software interface?
Yes, you have full control over critical parameters directly through the software tablet. You can refine the voltage, wire feed speed, and travel speed mid-run to ensure the arc is stable and the penetration is correct. This control is essential for achieving high-quality results across different joints. The interface allows you to save these settings into a job library, so the exact same parameters can be loaded instantly for any future production runs.